
A Crash Course on Framing 3D Artwork
A maker’s guide to framing 3D artwork, featuring expert advice from Sean Robbins of Frame It to a T and Jennifer Pearson of Frugal Framer in WNC.

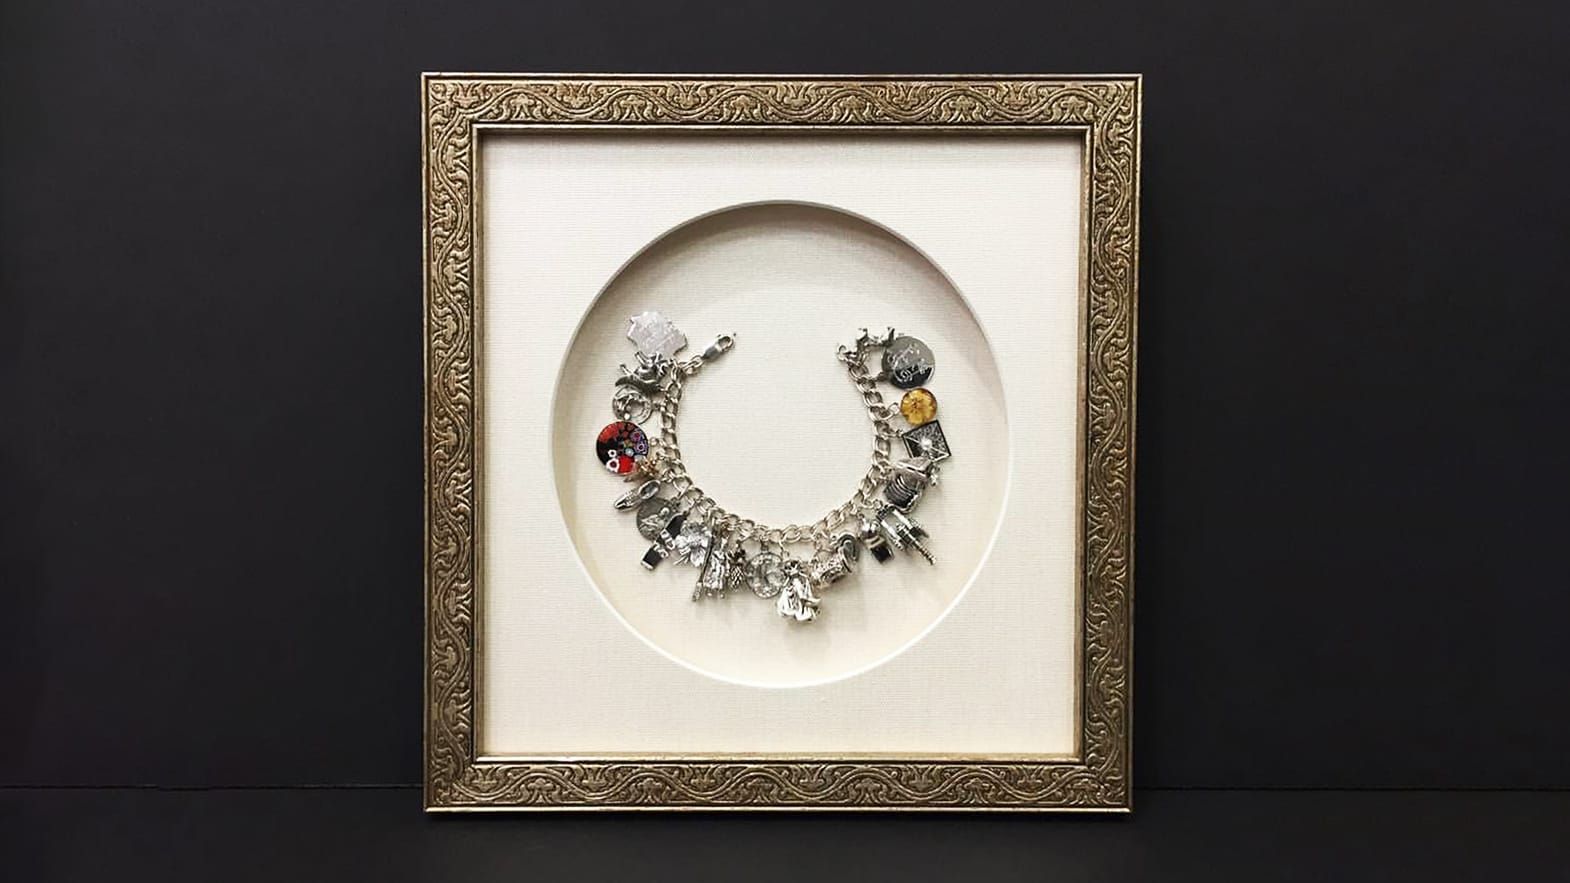
Maker’s Guide is a resource-style column dedicated to supporting artists. This month, we share insights on framing 3D artwork from Sean Robbins of Frame It to a T and Jennifer Pearson of Frugal Framer. Don’t miss last week’s related guide, How to Photograph 3D Art Like a Pro.
Artists in Western North Carolina are renowned for their hand-sewn dolls, mixed-media assemblages, and intricate paper cutouts. Exactly how these composite pieces end up in frames is nearly as impressive. Framing flat artwork has its own challenges, but 3D objects add another layer of complexity to the equation, for artists and art collectors alike: What materials should you use? How do you keep the piece secure? Does it even need a frame at all?
To get answers, we turned to Sean Robbins, owner of Frame It to a T, and Jennifer Pearson, owner of the Frugal Framer. Both Asheville shops have experience framing everything from sculptures to sentimental keepsakes and handmade crafts. In this Maker’s Guide, you’ll find advice and practical strategies for framing 3D artwork, whether you’re preparing for an exhibition or want to hang your favorite piece at home.
 Tom Kerr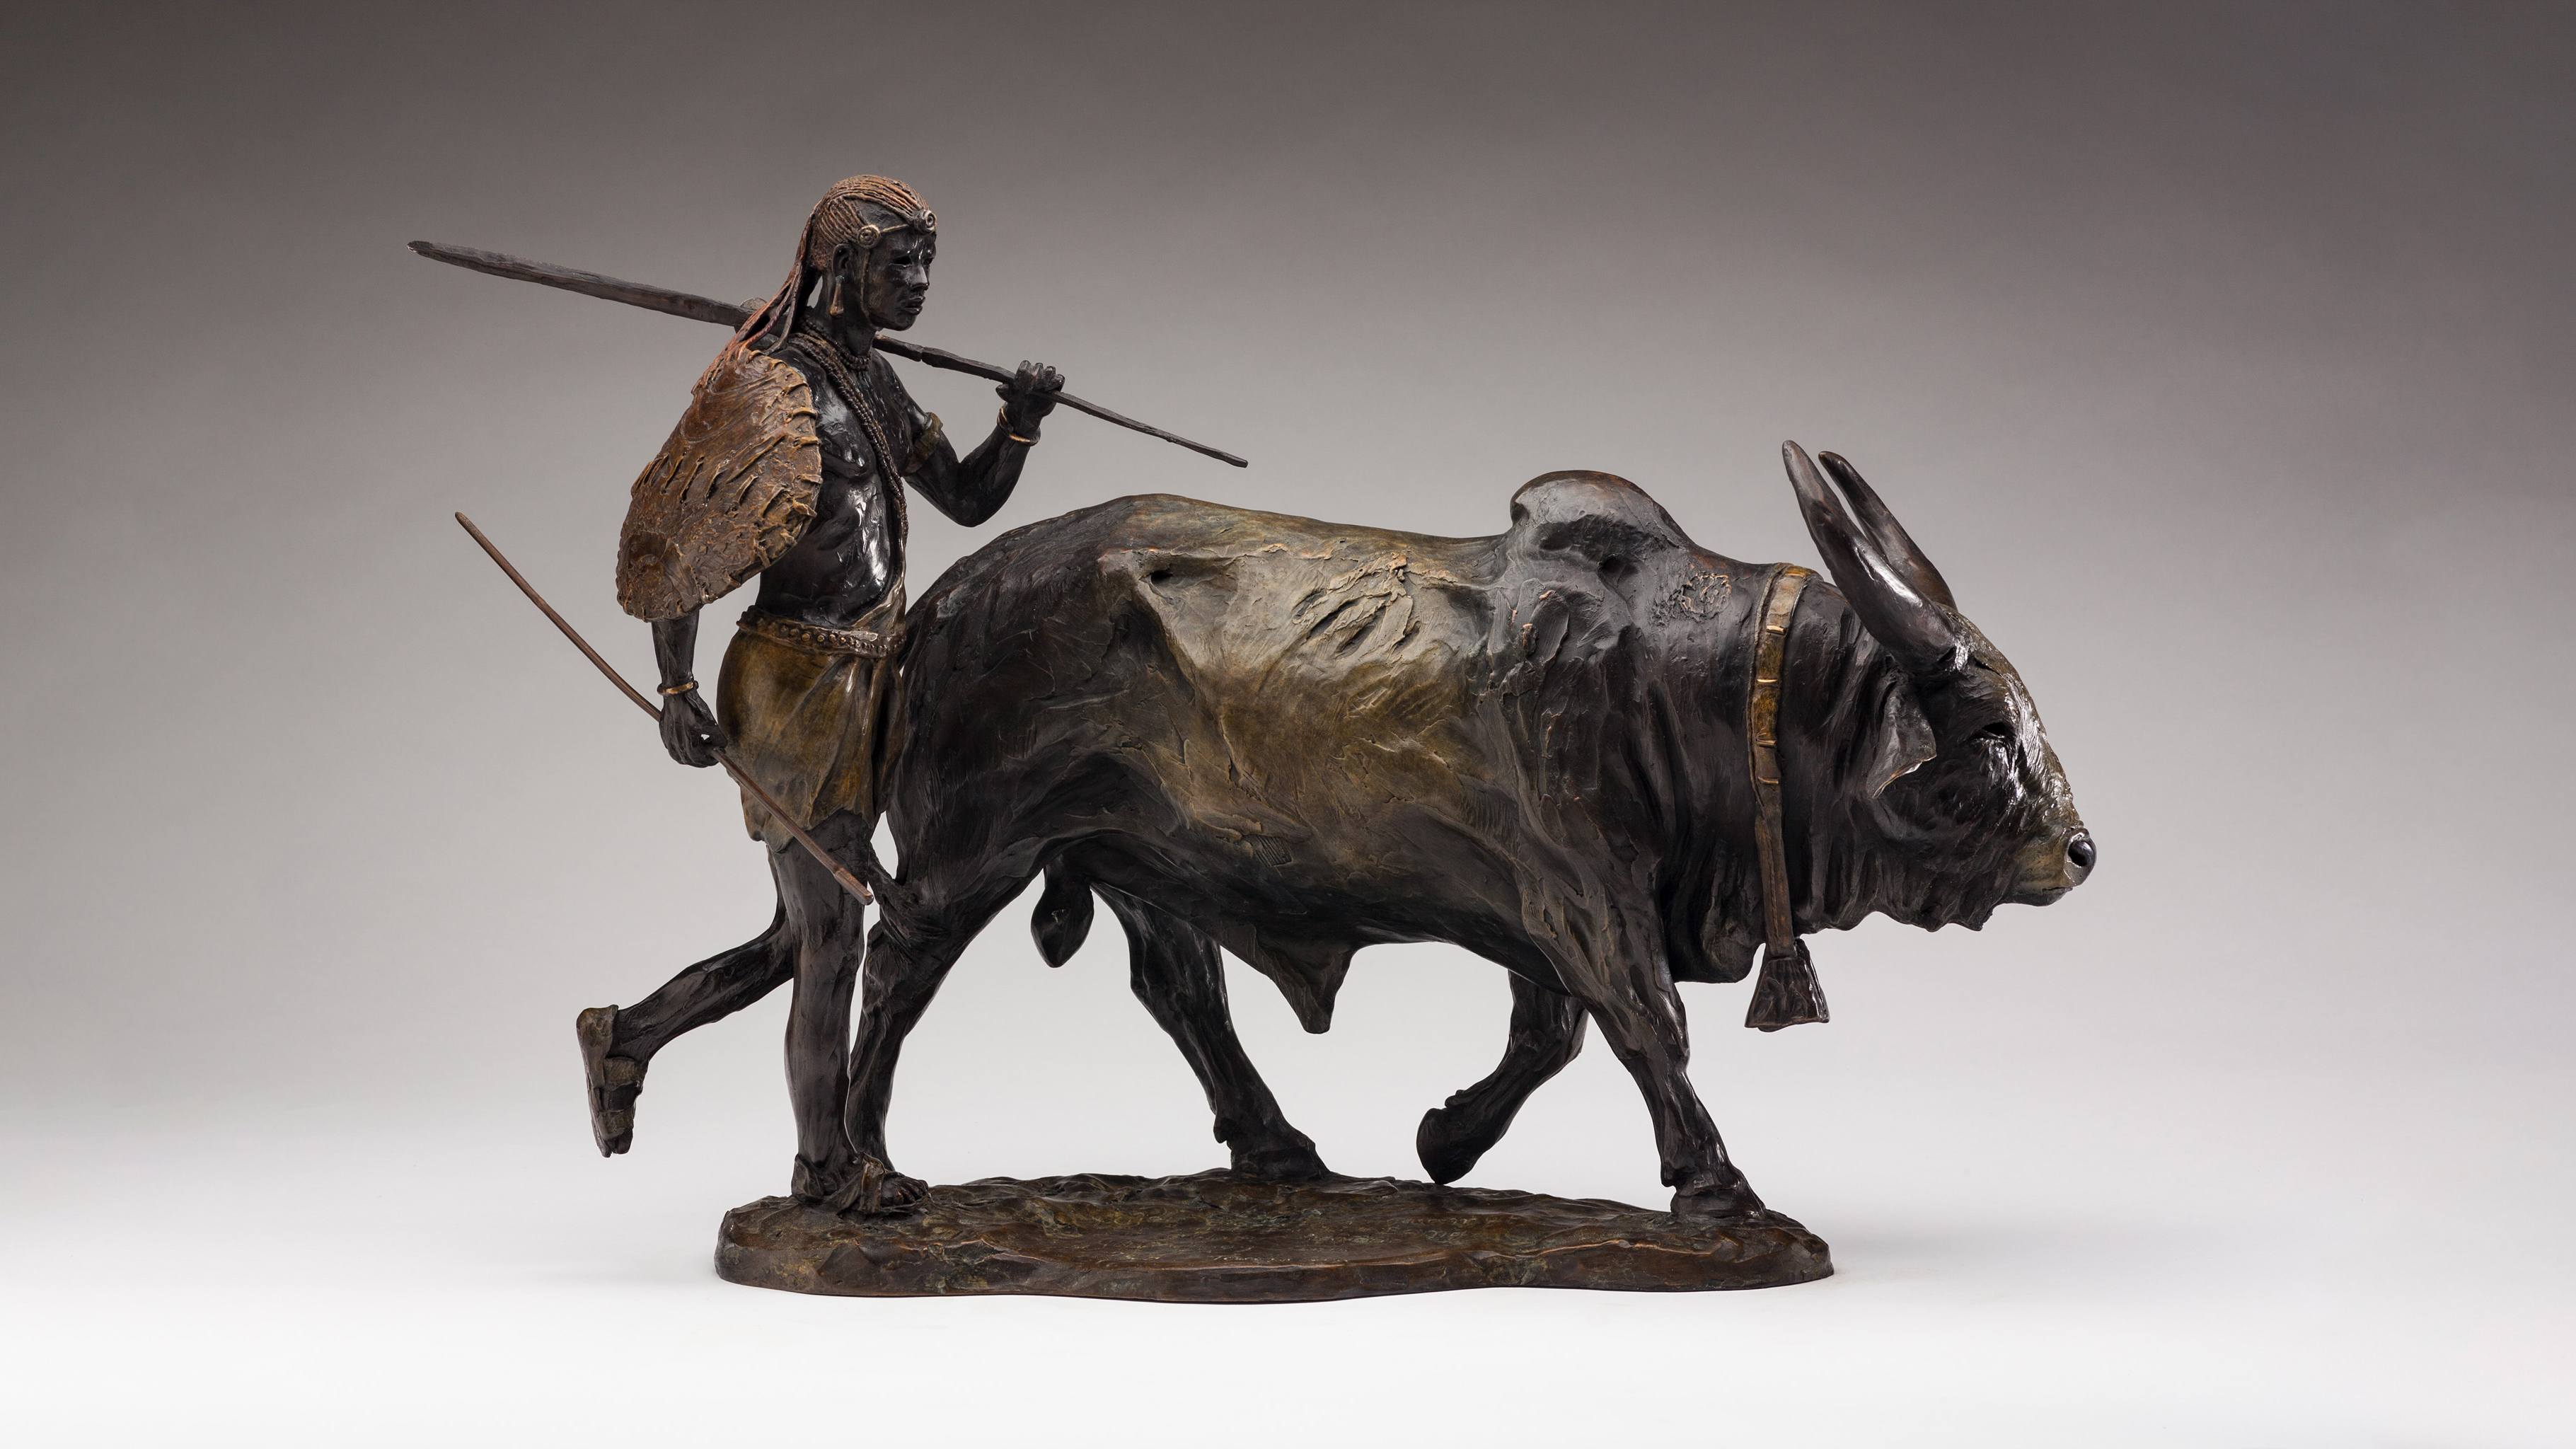
Meet the Experts
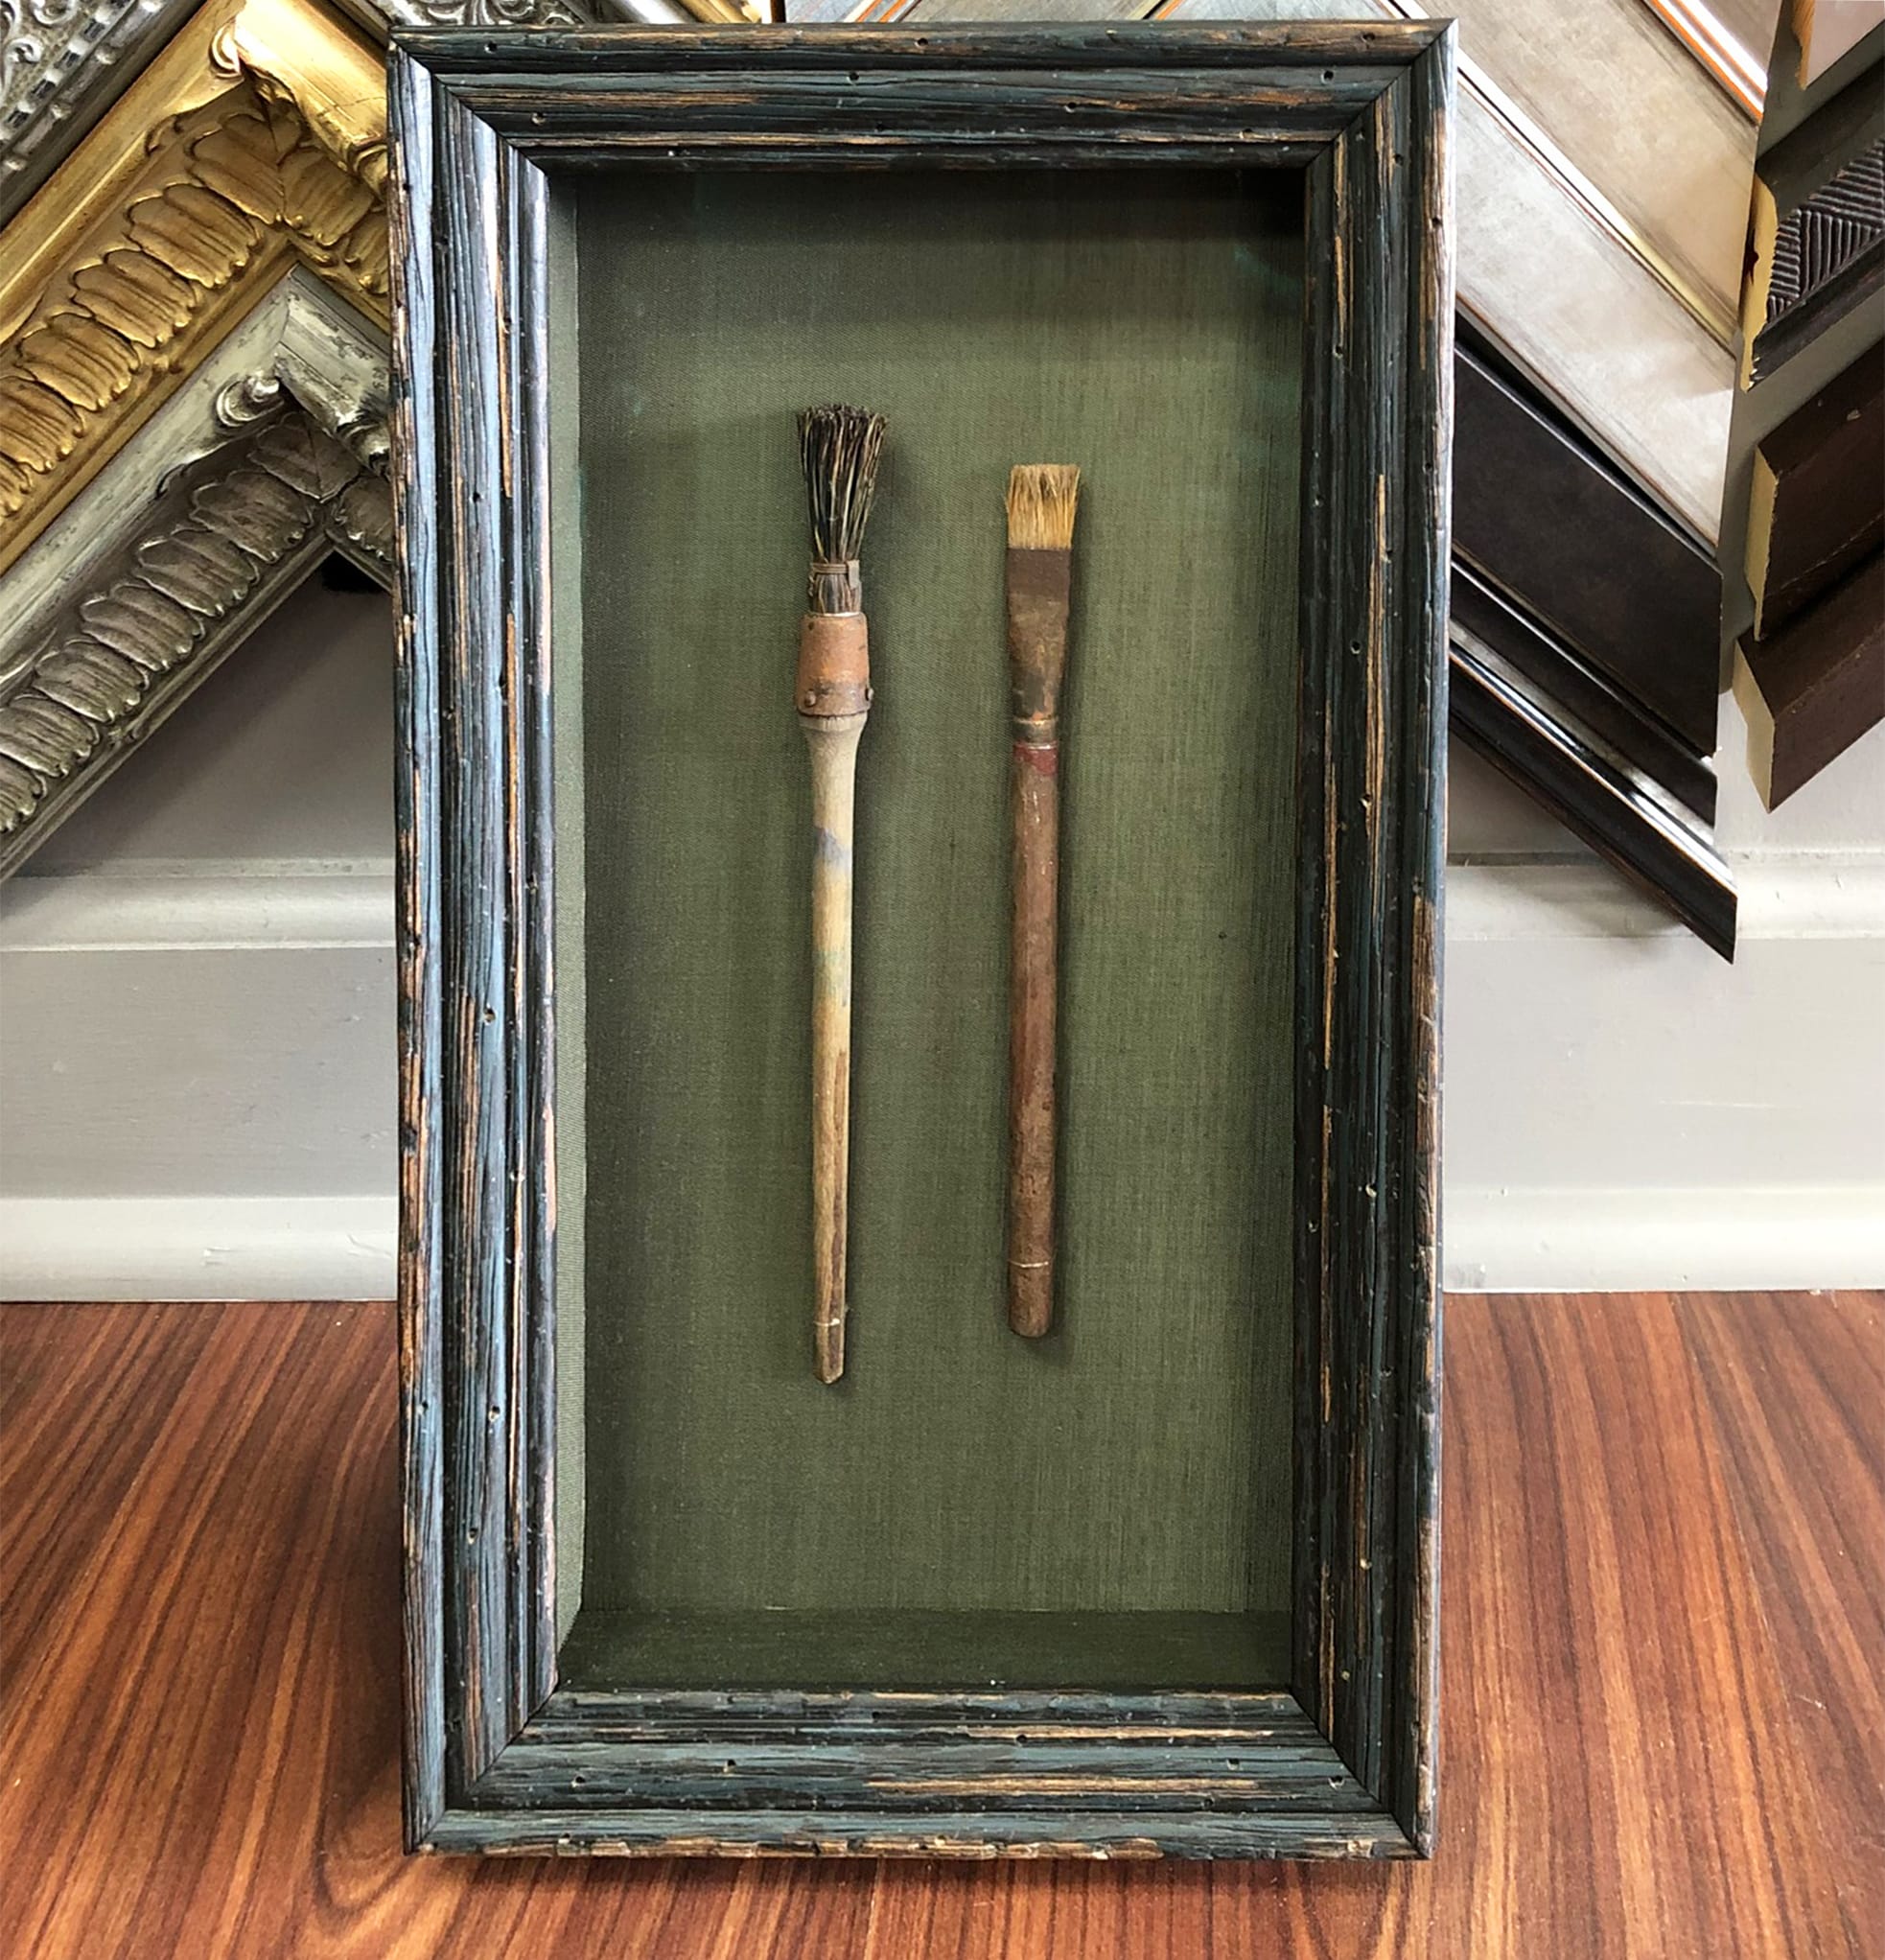
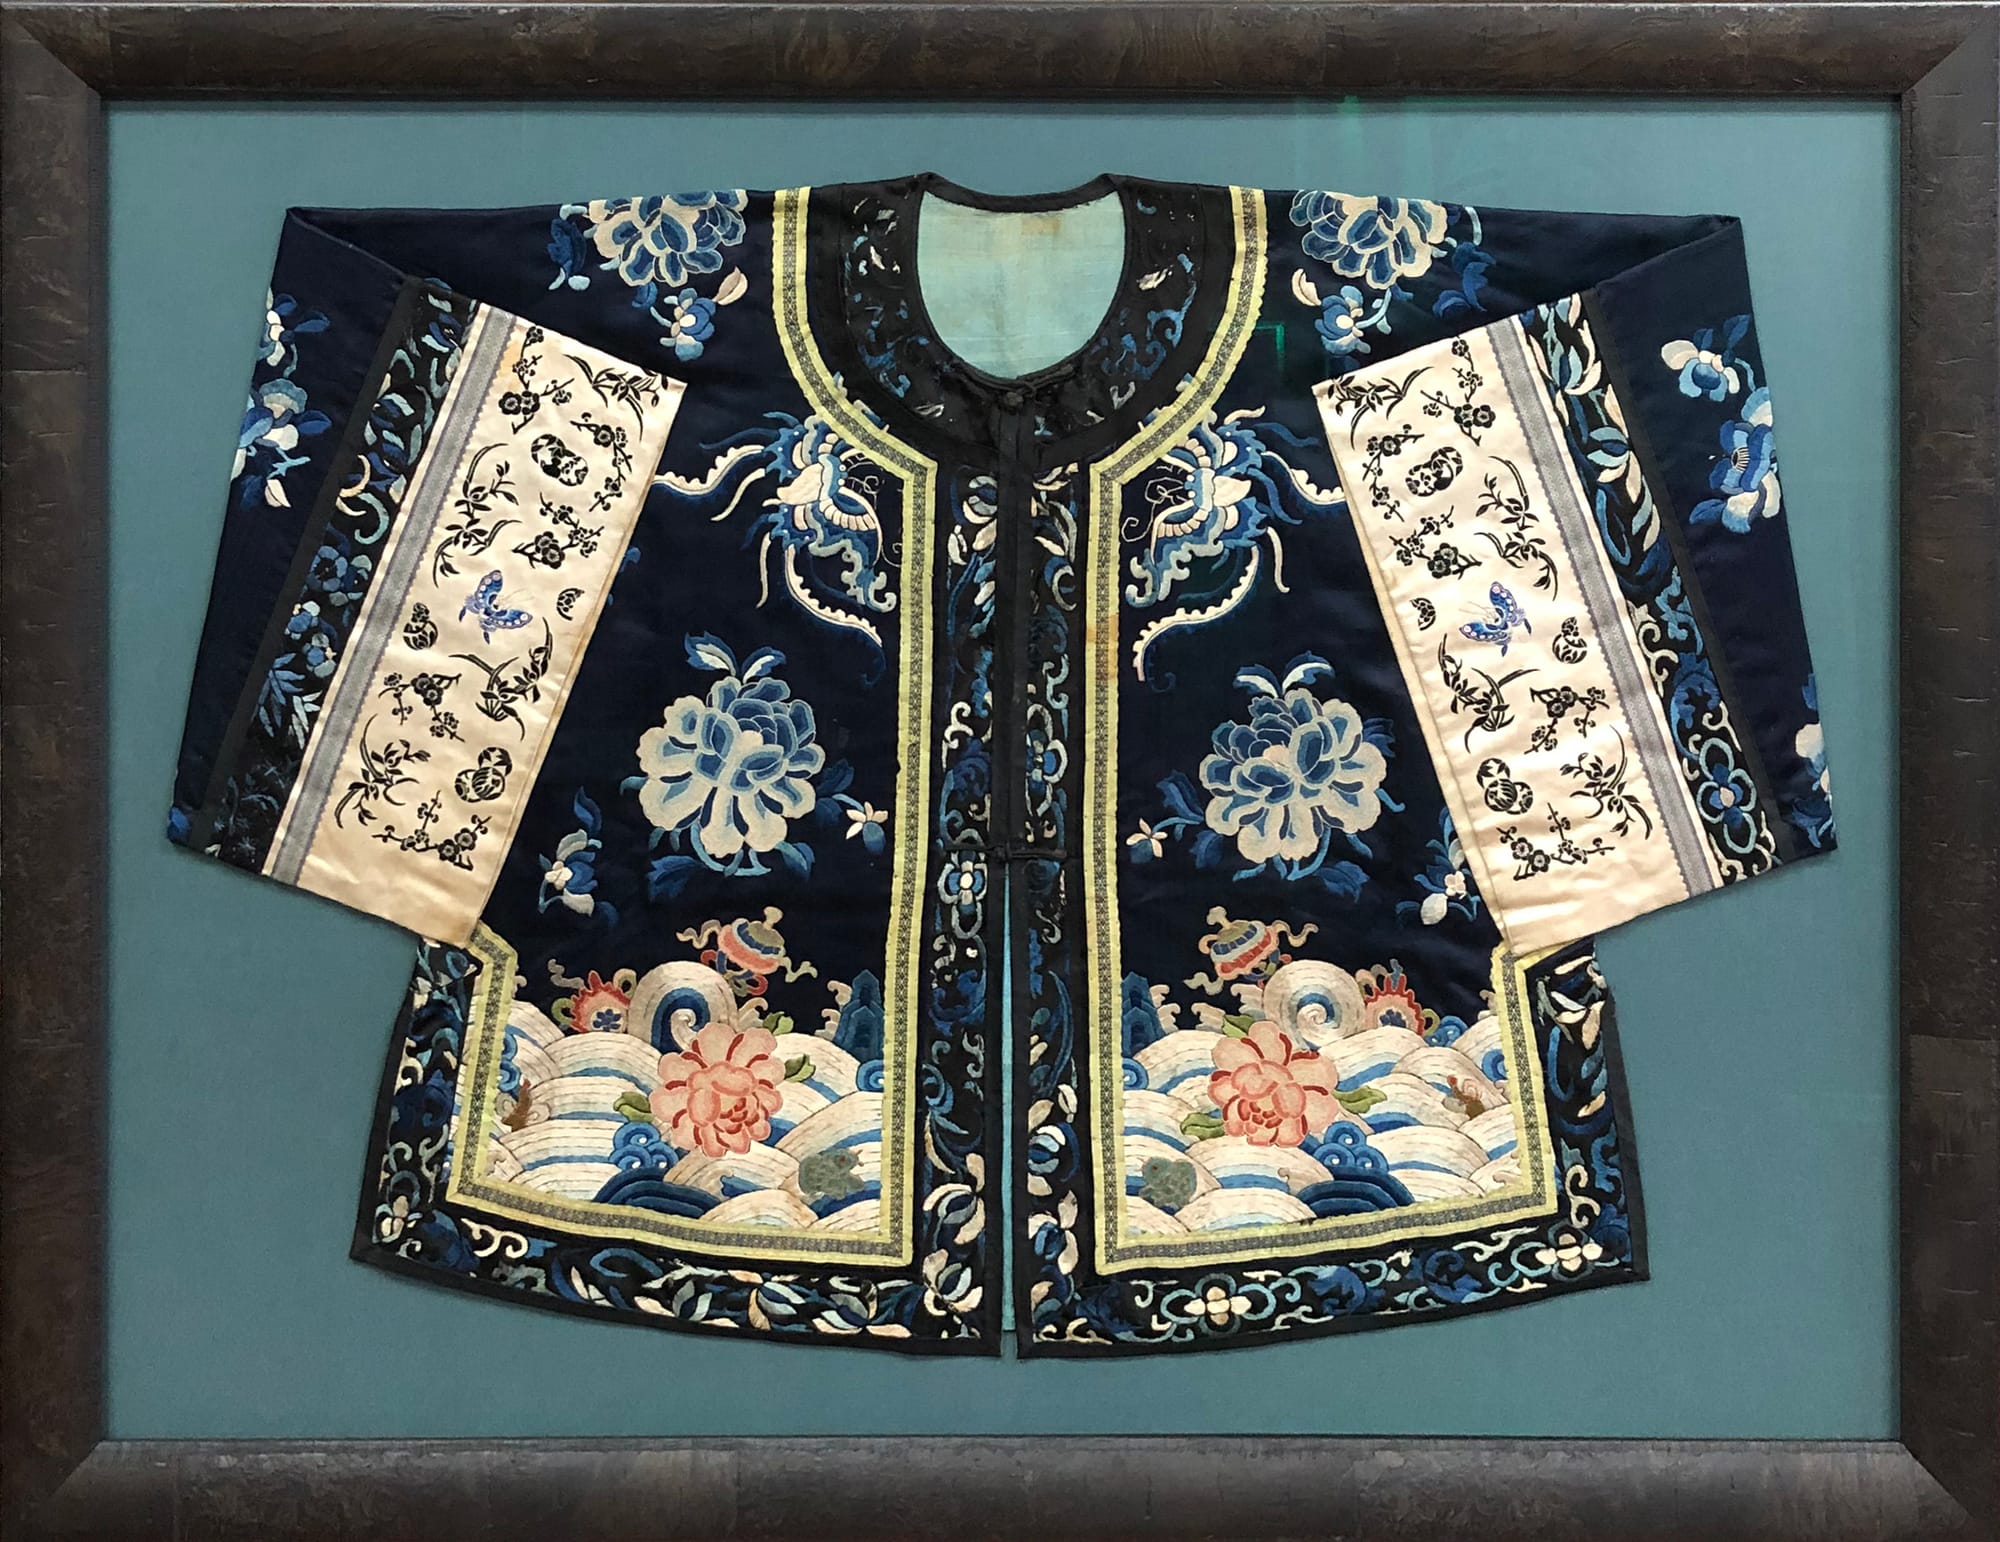
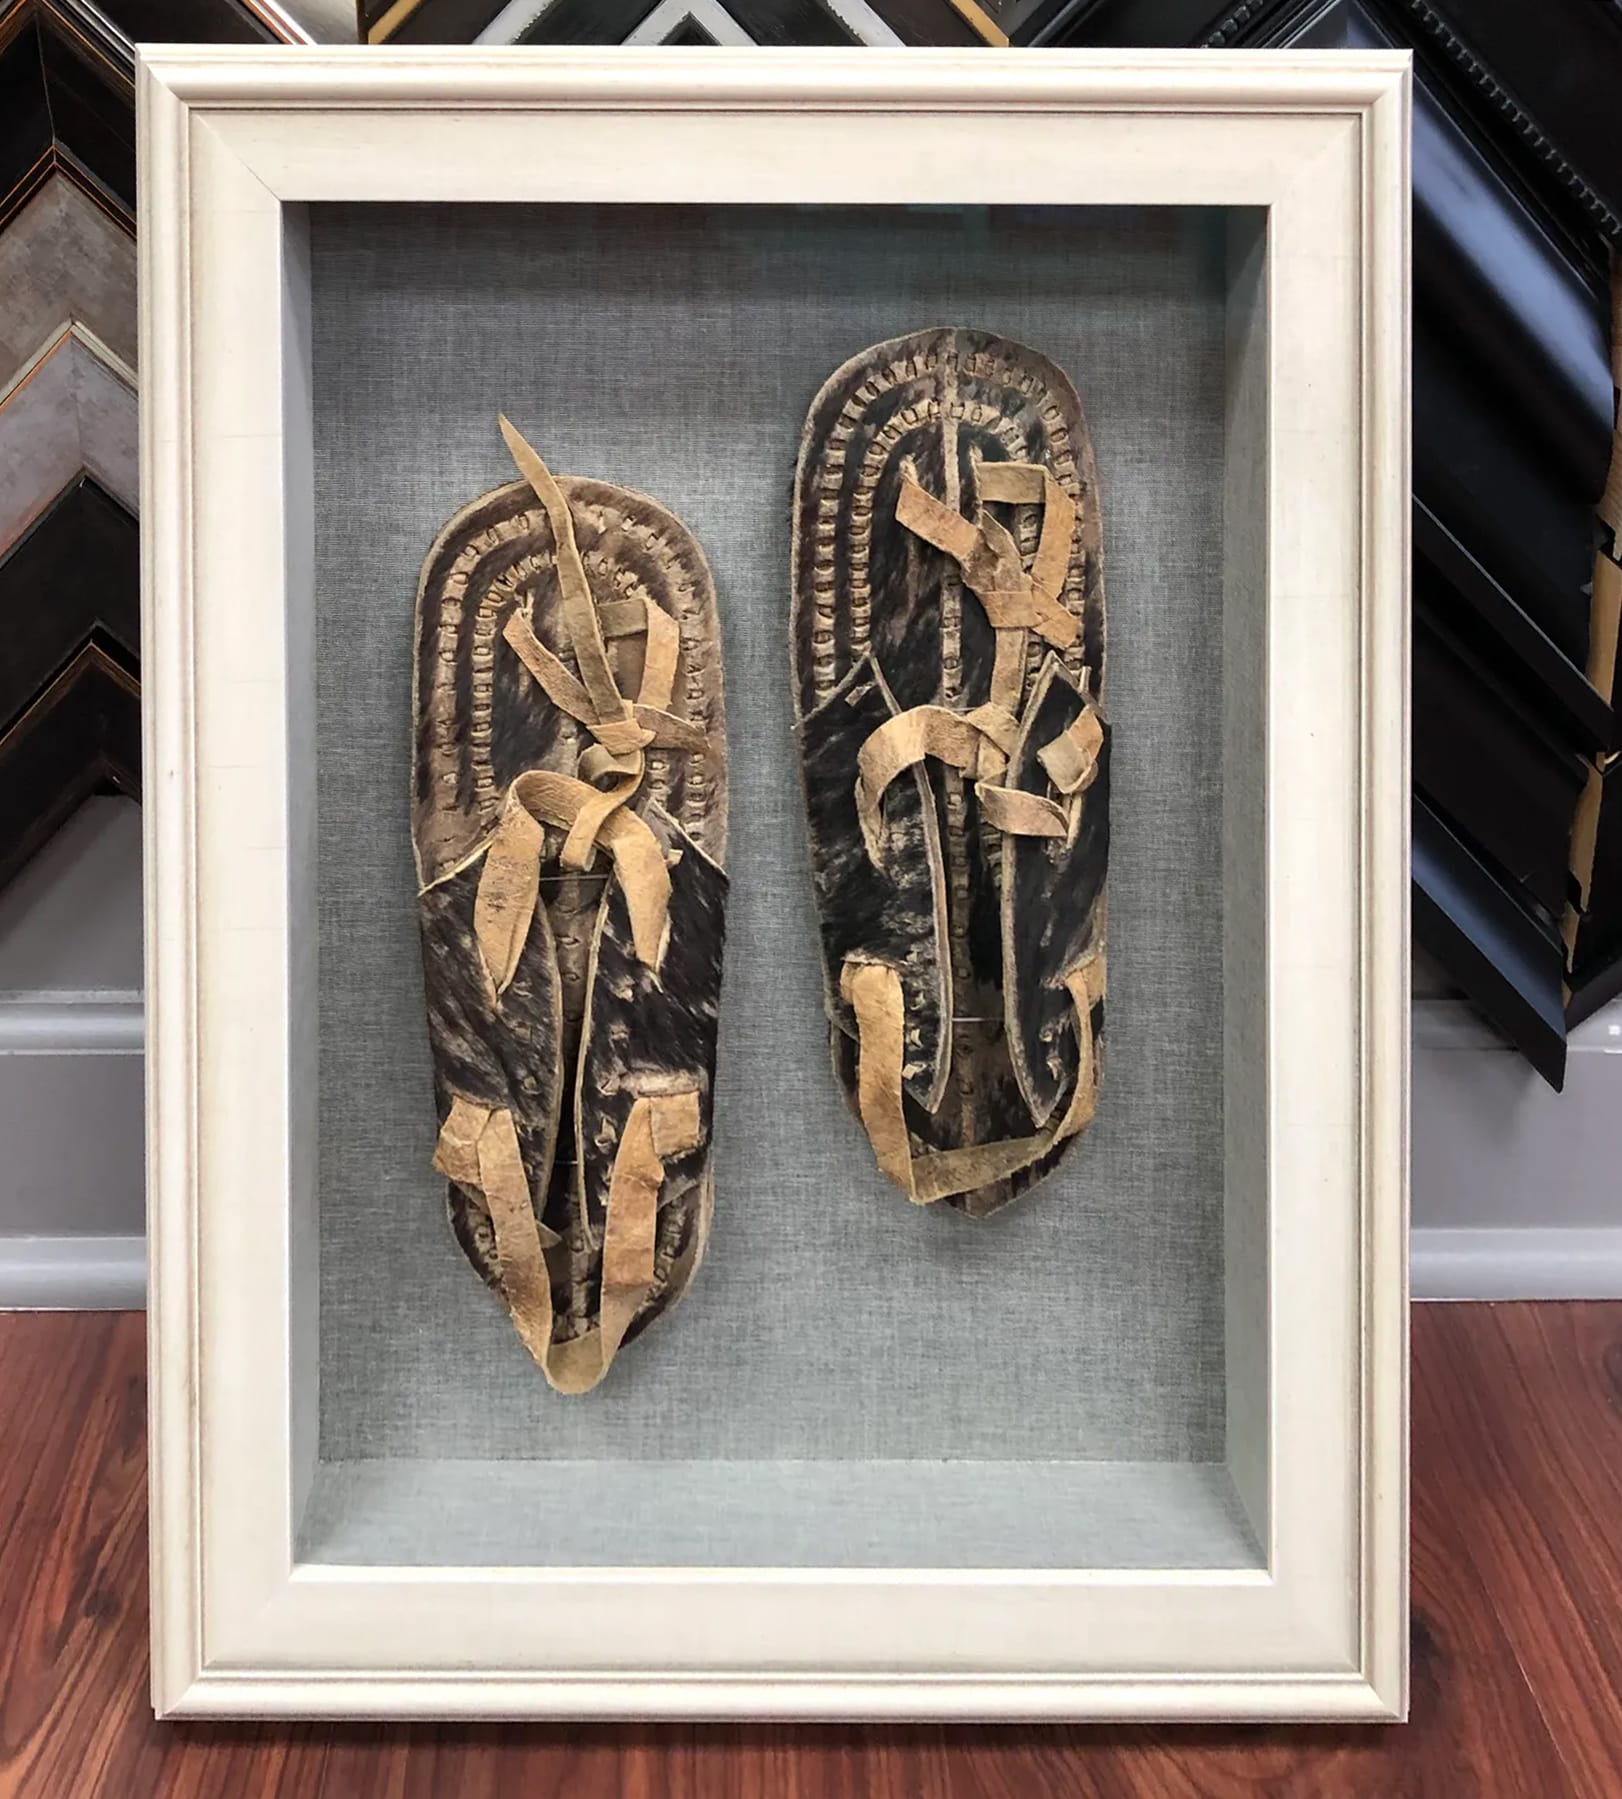
(l-r) Vintage paintbrush set; decorative jacket; pair of sandals; photos and framing: Sean Robbins, Frame It to a T
Boasting the “largest selection of frames in WNC,” Frame It to a T has become a regional favorite for good reason. “Three-dimensional framing is one of my specialties,” says owner Sean Robbins, who began framing his own 3D paintings while earning a studio art degree. Today, he’s sought out by artists working in a wide variety of 3D mediums who want to protect and showcase their work. Sean has framed objects ranging from ceramic tiles to guitars and figurative sculptures, improvising creative solutions for every challenge along the way.
“We continually learn,” confirms Jennifer Pearson of Frugal Framer. “Every 3D project is a different problem-solving exercise, and you have to be creative and develop an entire repertoire of solutions.” Located in Asheville’s historic Montford neighborhood, this “no fuss” frame shop has operated since the 1970s and offers a multidisciplinary team specializing in custom projects. Jennifer joined in 2010 with a background in interior design, then returned four years later to purchase the shop, which has since expanded with a second location in Arden, just south of Asheville.
Framing 3D Artwork, Step by Step
Here, Jennifer Pearson and Sean Robbins lay out the six steps (and expert tips) they use to frame 3D artwork for their clients.
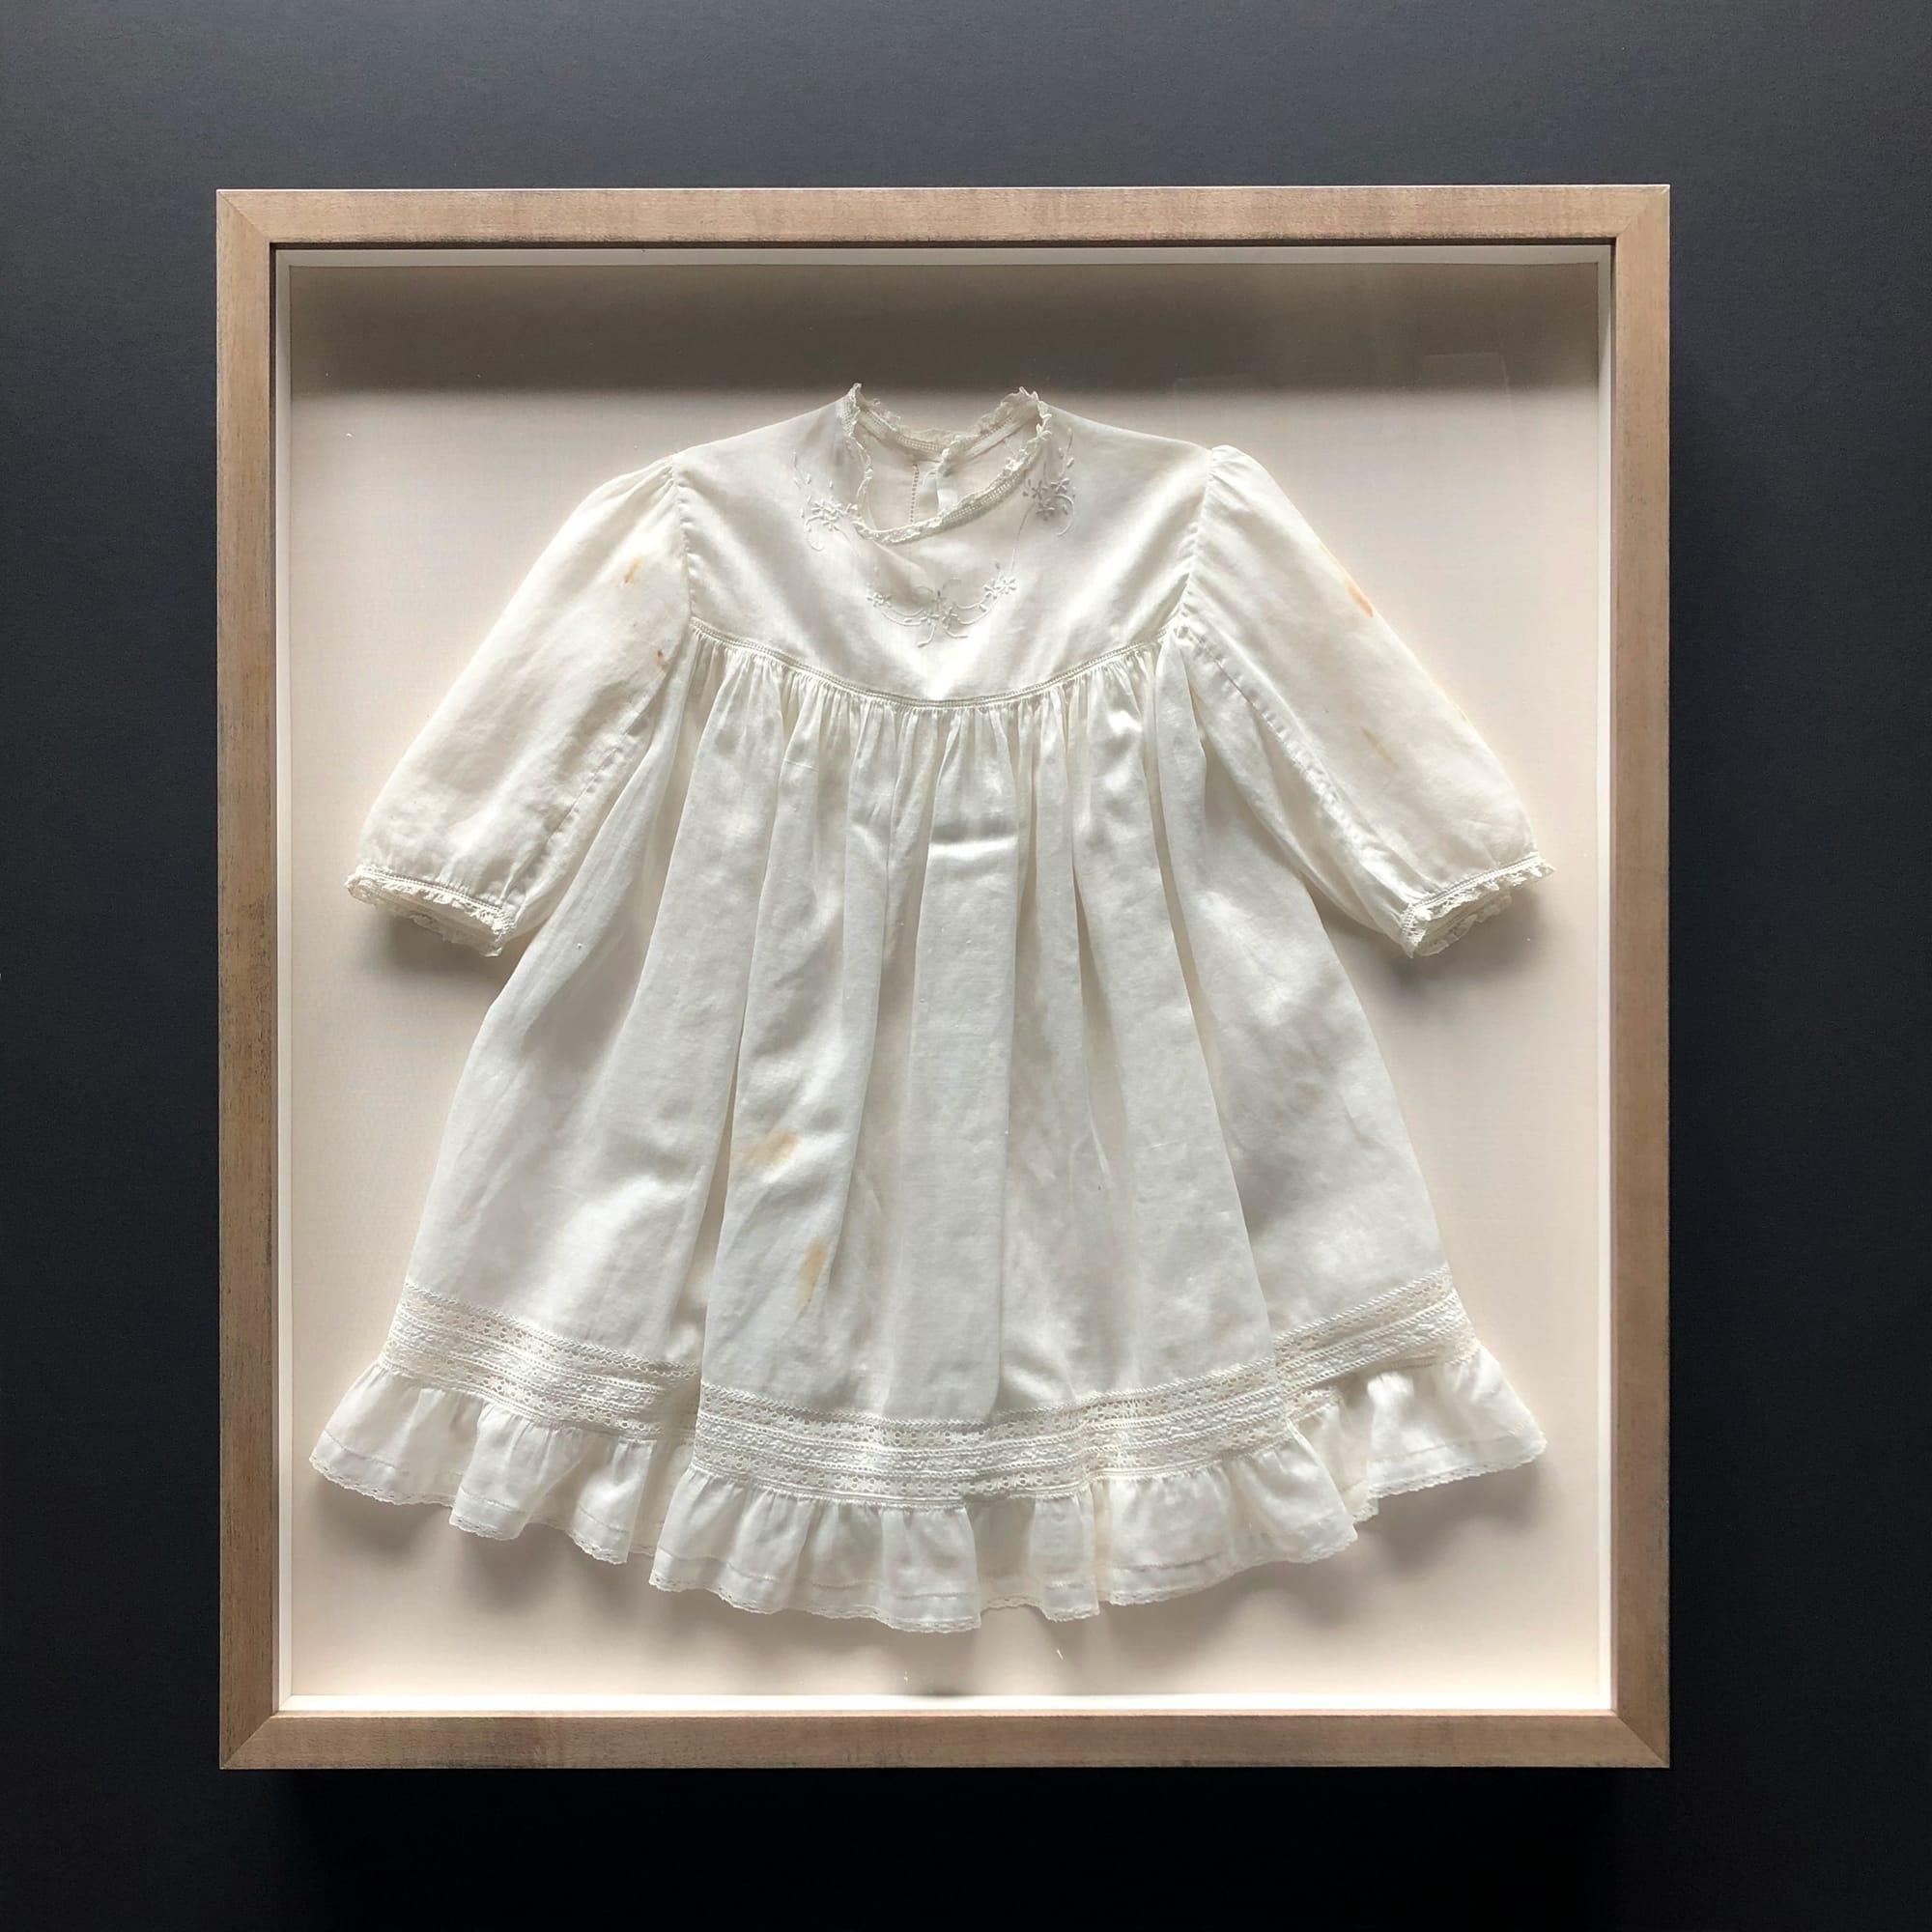
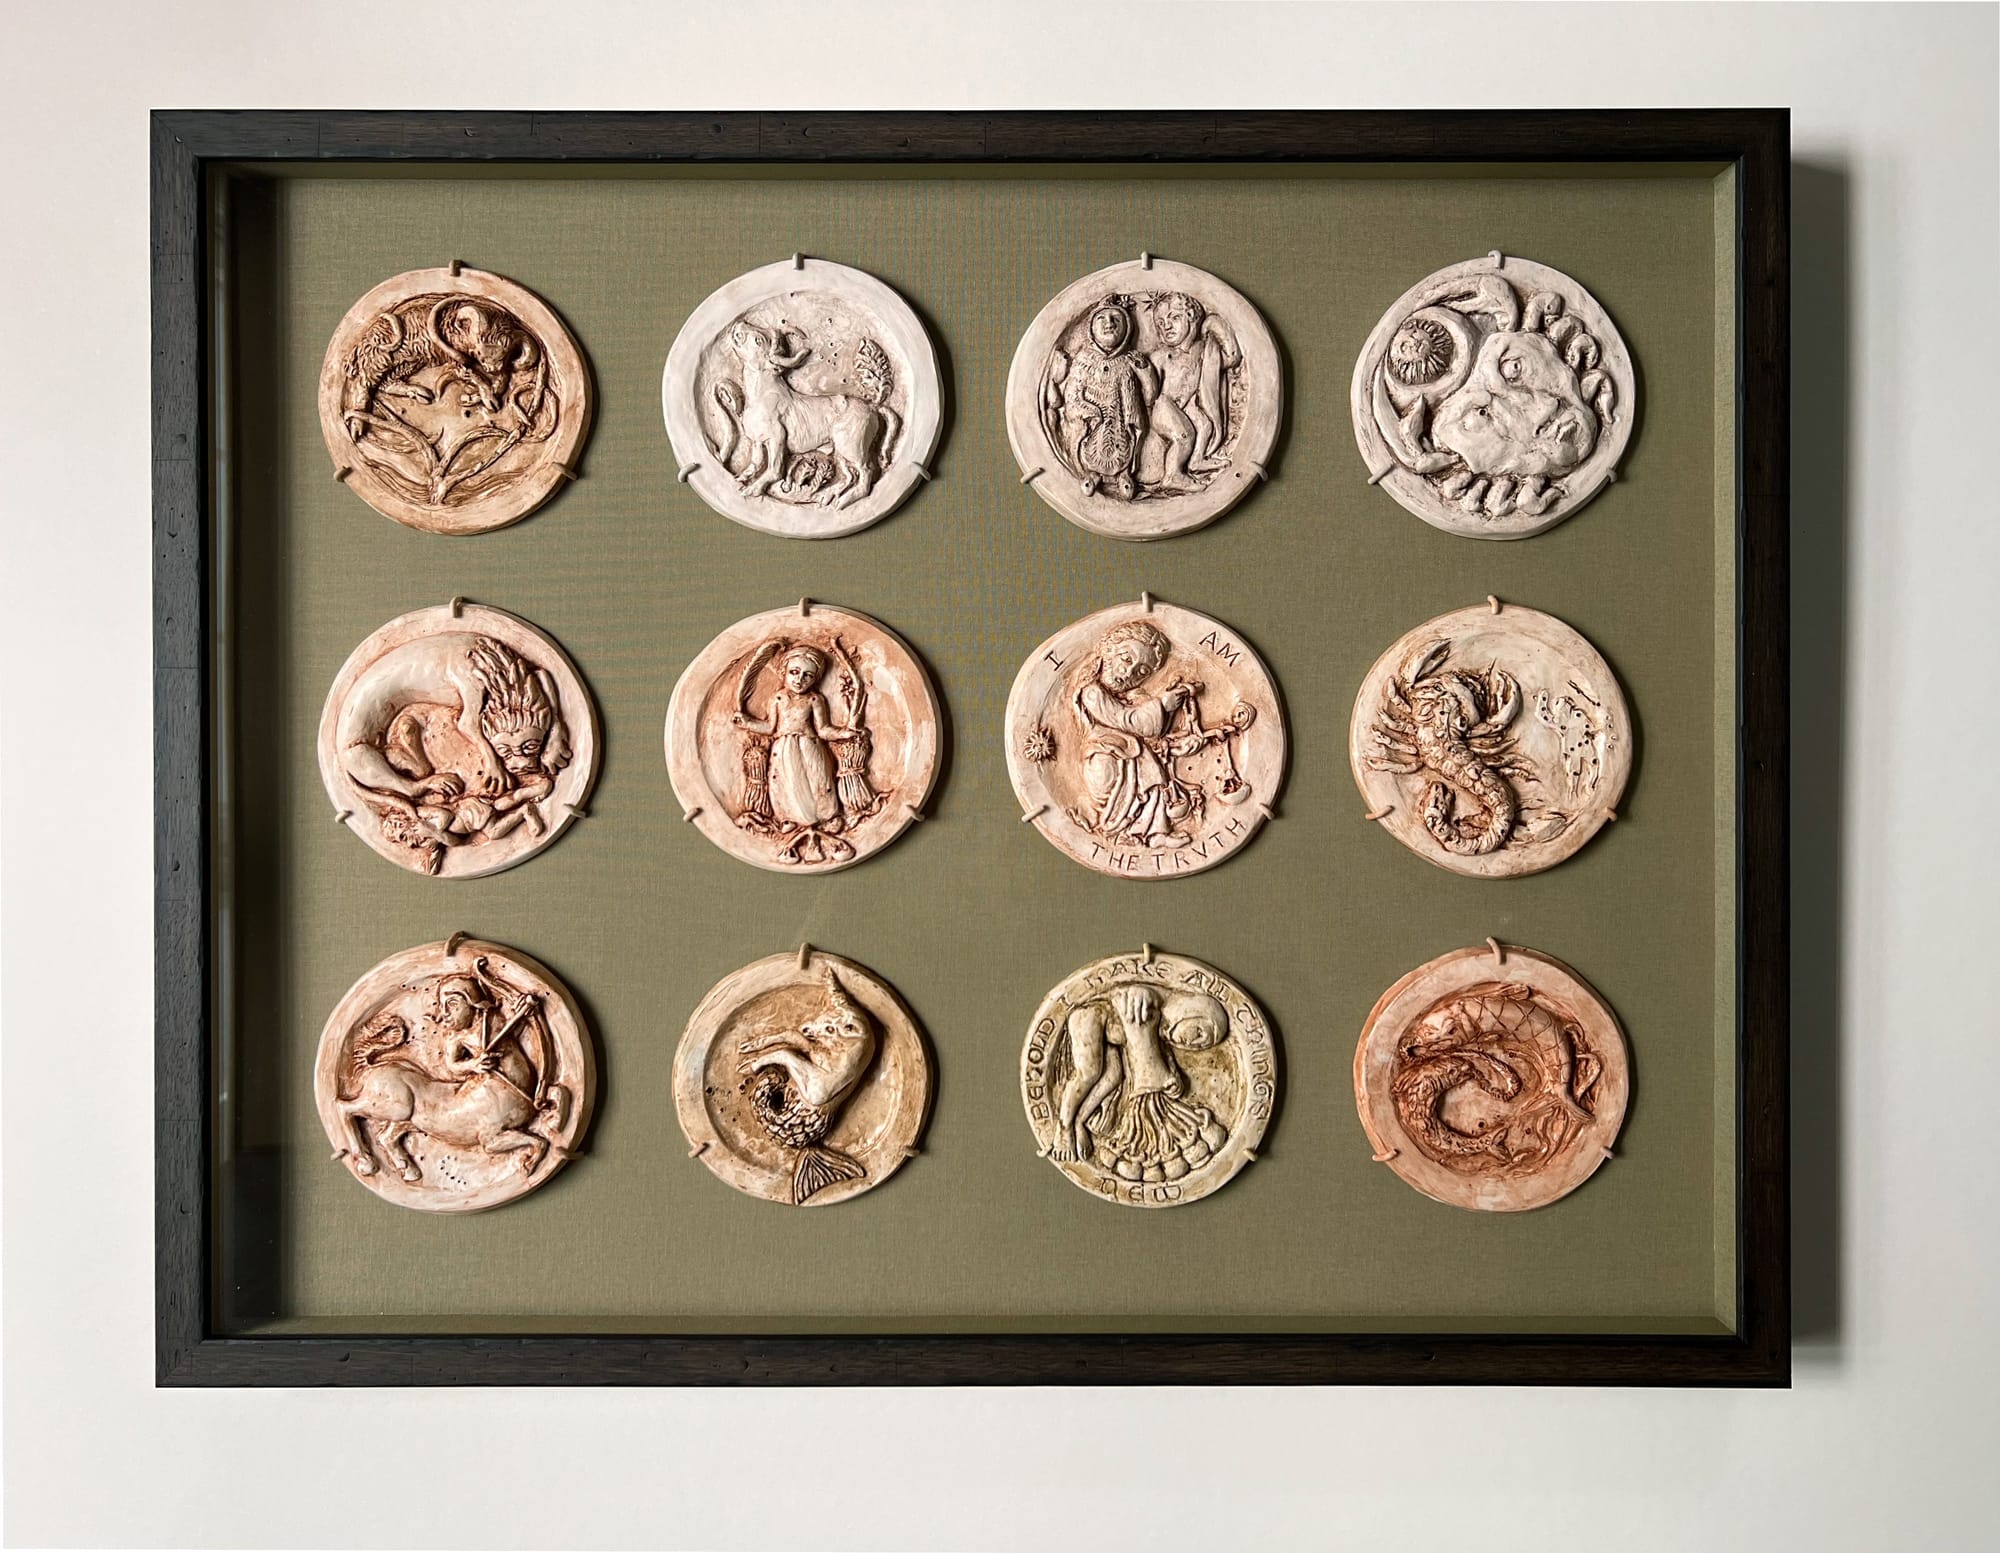
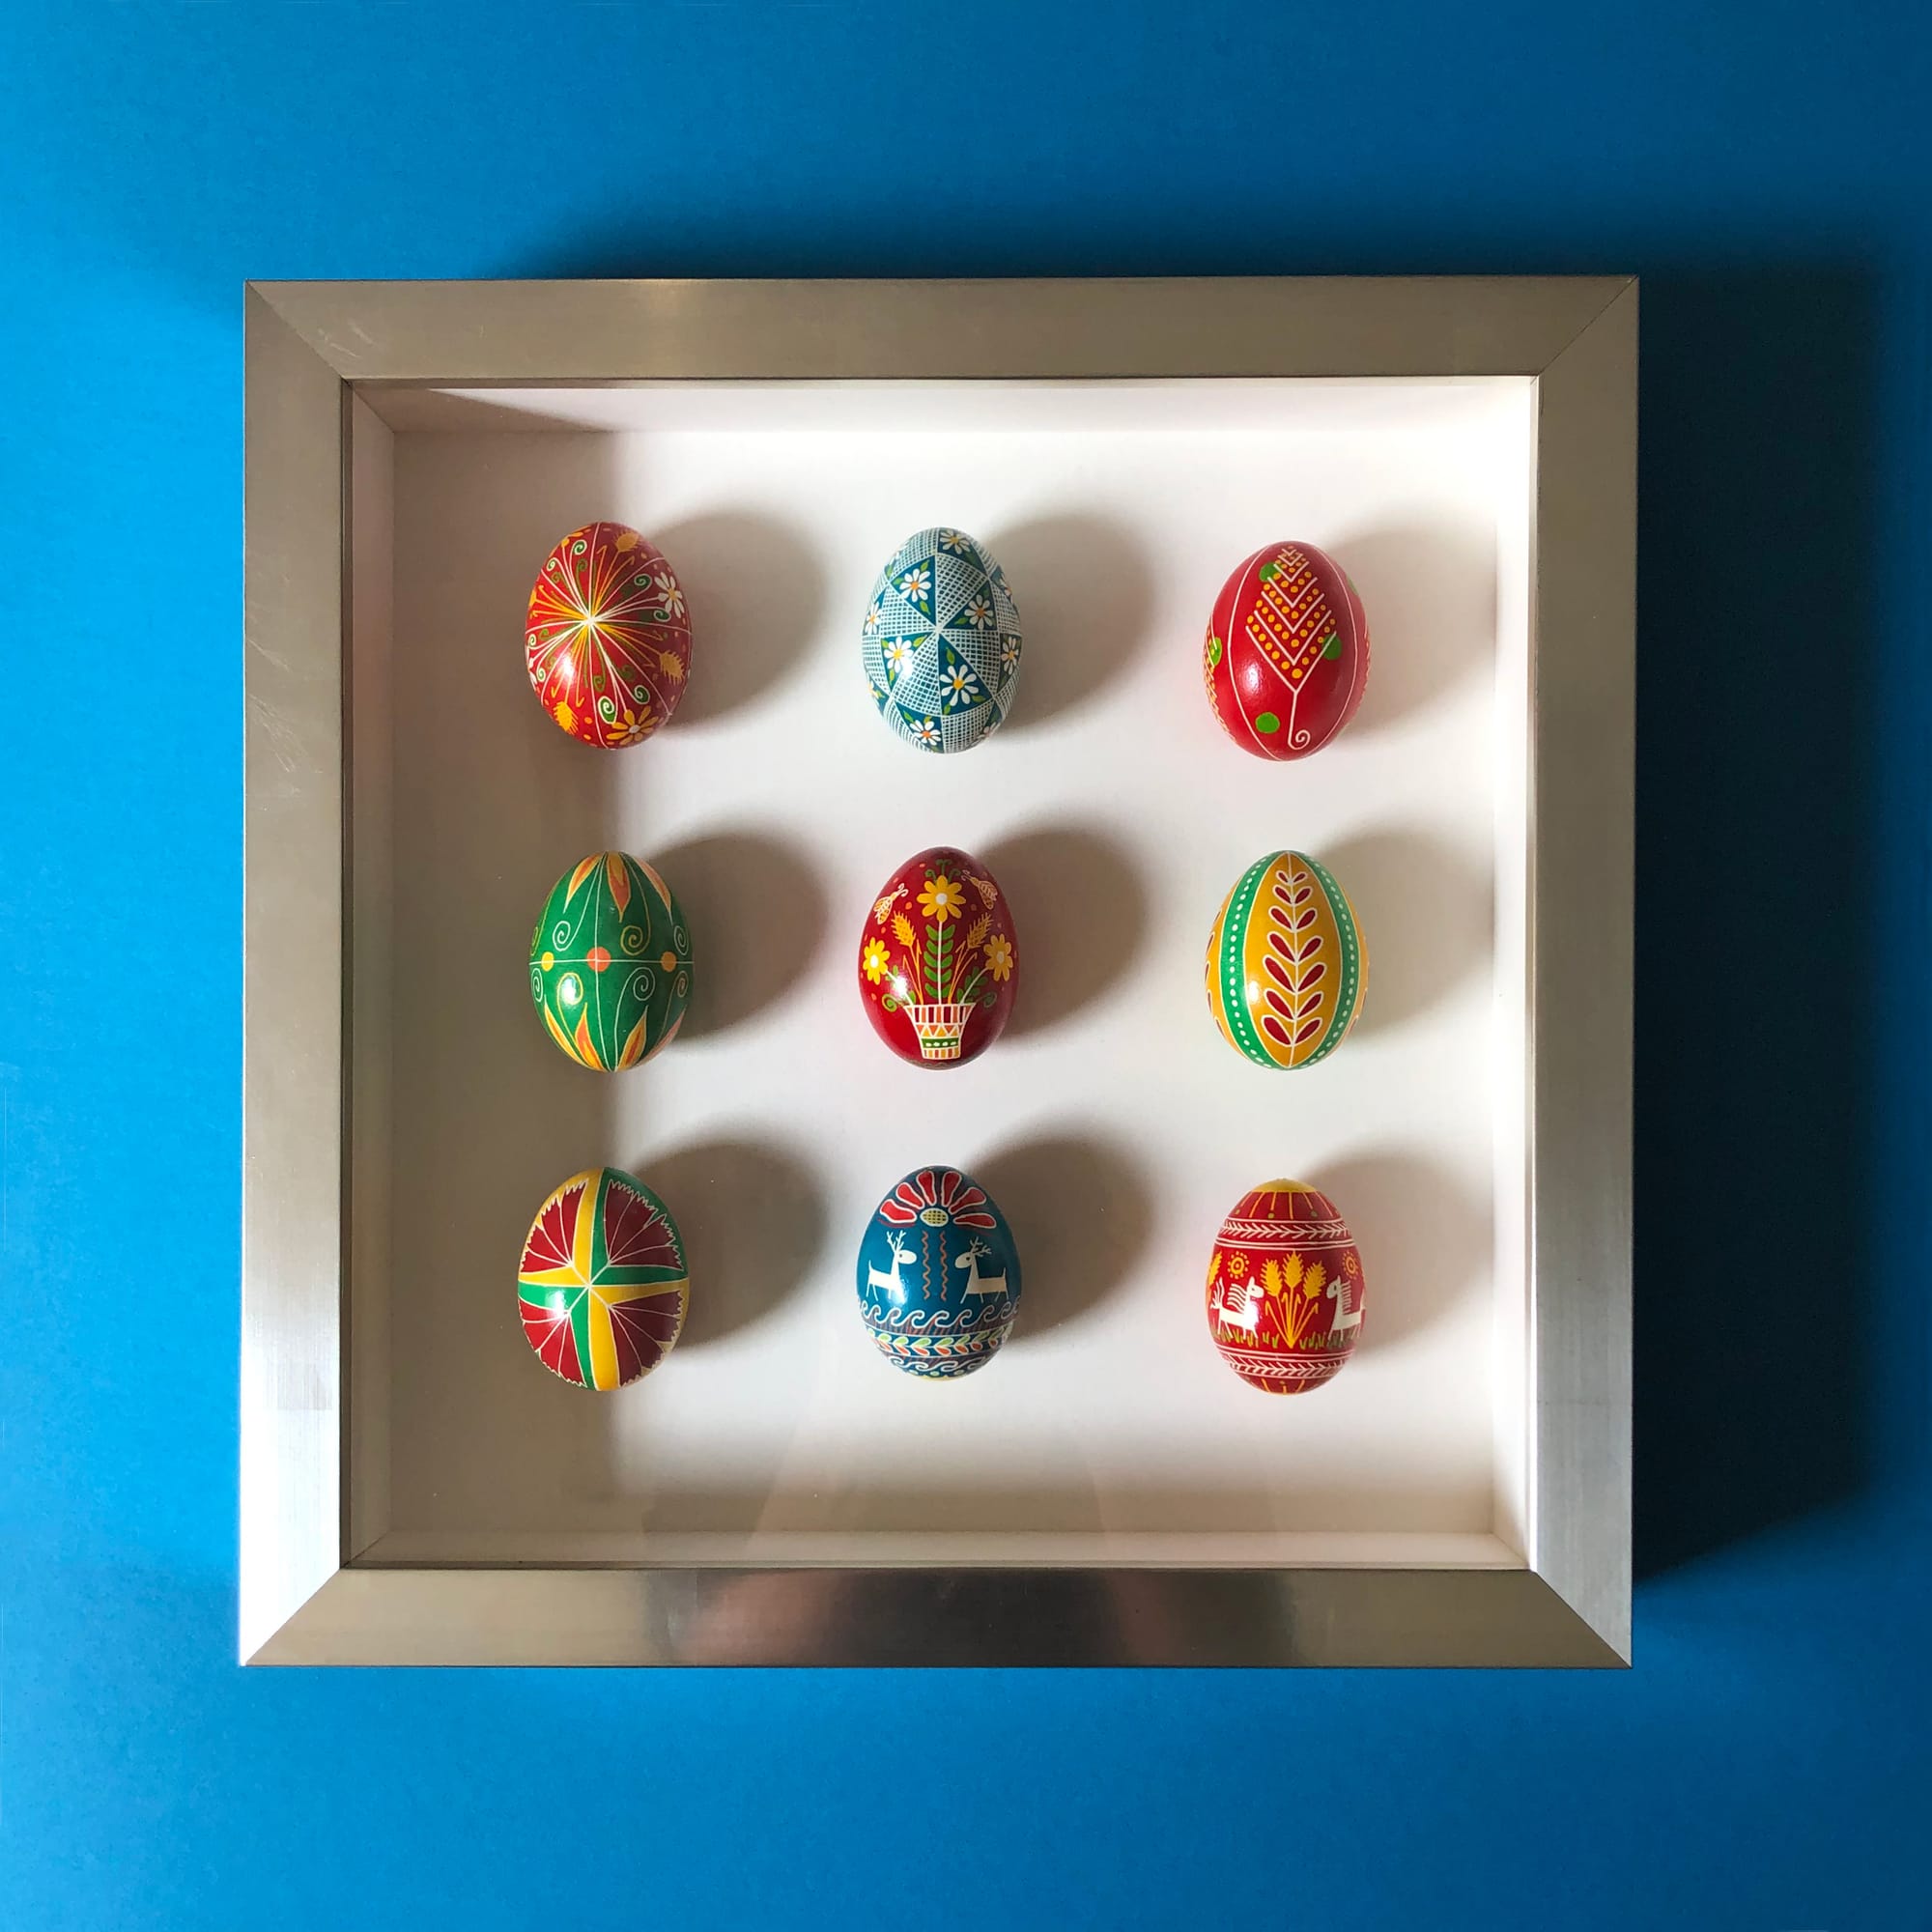
(l-r) Baby's gown; handmade clay zodiac tiles with custom-made pegs; Ukrainian pysanky eggs by Andrea Kulish; photos and framing: Jennifer Pearson, Frugal Framer
Step One: Choose Your Shadow Box
Shadow boxes are deep-set frames with extra space for dimensional objects, typically made from wood or clear acrylic, and are the go-to option for 3D work.
- You can find them at custom frame shops, specialty craft stores, or even flea markets.
- If you have woodworking skills, consider building your own.
- While most people choose square or rectangular shapes, custom framers like Frugal Framer and Frame It to a T can order round and oval options from suppliers.
Step Two: Select a Backing Board
Inexpensive and found at most craft stores, a sturdy base keeps the artwork upright in the shadow box.
- Make sure the panel fits inside the shadow box with no gaps.
- For lightweight works, use matboard or foamboard wrapped in velvet or linen.
- For extra support, use a painted wood panel.
Step Three: Mount Your Artwork
There are many ways to secure your work to the backing board, depending on the medium.
- For lightweight or floppy objects, glue a D-ring to the back for discreet hanging.
- For soft items, sew them to a matboard using clear fishing line or color-matching thread.
- Concealed pins, brackets, or custom-cut foam inserts can also help.
- Sean recommends plastic zip ties; clear or black, they disappear against most backgrounds.
- Drill small holes in the backing board where you want to secure your piece, thread the zip tie through, and fasten it around the object.
- Once mounted, the piece can be placed in a shadow box.
Pro-tip: “Attach 3D objects so they stay put, and you never have to open the shadowbox again,” says Jennifer.
Step Four: Add Spacers for Depth and Protection
Spacers prevent moisture damage by keeping the artwork from touching the glass. They can also be used for building dimensions within the shadowbox. For example, Jennifer recently framed a photo, a football, and a baseball cap in the same shadowbox, each set at a different level to create depth.
- Build spacers from color-matching or contrasting matboard, cut to various heights, then set the entire arrangement into your shadowbox and secure it for safety.
Step Five: Install Glazing
Glazing is the clear, protective covering that shields artwork from dust, moisture, UV light, and fingerprints.
- Choose from lightweight acrylic (Plexiglass), standard glass with minimal UV protection, UV-protective glass, and anti-reflective museum glass.
- Sean swears by Artglass, which is so clear and non-reflective that most people don’t even notice it’s there. “Non-glare glass can look frosty,” he says. Artglass blocks up to 99% of UV rays, “which is on par with the glass museums use.”
Pro tip: For larger, heavier pieces, Jennifer suggests using acrylic rather than regular glass, since it’s considerably lighter. Depending on the context and the level of protection you want, you may choose to skip the glass altogether.
Step Six: Know When to Call a Pro
Jennifer points out that many of her 3D framing projects were for people who had already spent a lot of money trying to do it themselves. Her best advice: understand that framing 3D objects is its own specialized craft. “3D framing can be super fun,” she says. “[It’s] meant to convey stories about just about anything.”
This interview has been edited for length and clarity. All images published with permission of Frugal Framer and Frame It to a T; featured photo: Frugal Framer.
Frame It to a T
Website: www.frameittoat.com
Instagram: @frame_it_to_a_t
Email: frameittoat@gmail.com
Phone: 828-665-7730
Address: 1025 Brevard Rd, Ste 9, Asheville, NC
Frugal Framer
Website: frugalframer.com
Instagram: @frugalframer
Email: Jpearson@frugalframer.com
Asheville address: 95 Cherry St. (828-258-2435)
Arden address: 200 Julian Shoals Dr. (828-687-8533)