
How to Photograph 3D Art Like a Pro
Learn how to stage, light, and shoot your 3D art with product photographer John Kepchar’s practical, step-by-step guide for artists and makers.

Maker’s Guide is a resource-style column dedicated to supporting artists. This month, we share insights from John Kepchar of Kepchar LLC, Asheville’s product photography specialists.
Photographing 3D art poses unique challenges for artists who want to capture high-quality, professional-looking images of their work. Whether working in ceramics, fiber, glass, wax, metal, wood, paper, or found objects, artists rely on photography to share their creations, attract buyers, and apply to galleries, exhibitions, and other opportunities. As highlighted in a recent Q+Art interview with the founders of The Big Crafty, outstanding photographs can make all the difference when applying to popular markets and shows.
This task can be intimidating, especially for artists without a photography background. Even seasoned photographers sometimes struggle to capture 3D objects that are both realistic and visually appealing.
Introducing 3D Photographer John Kepchar
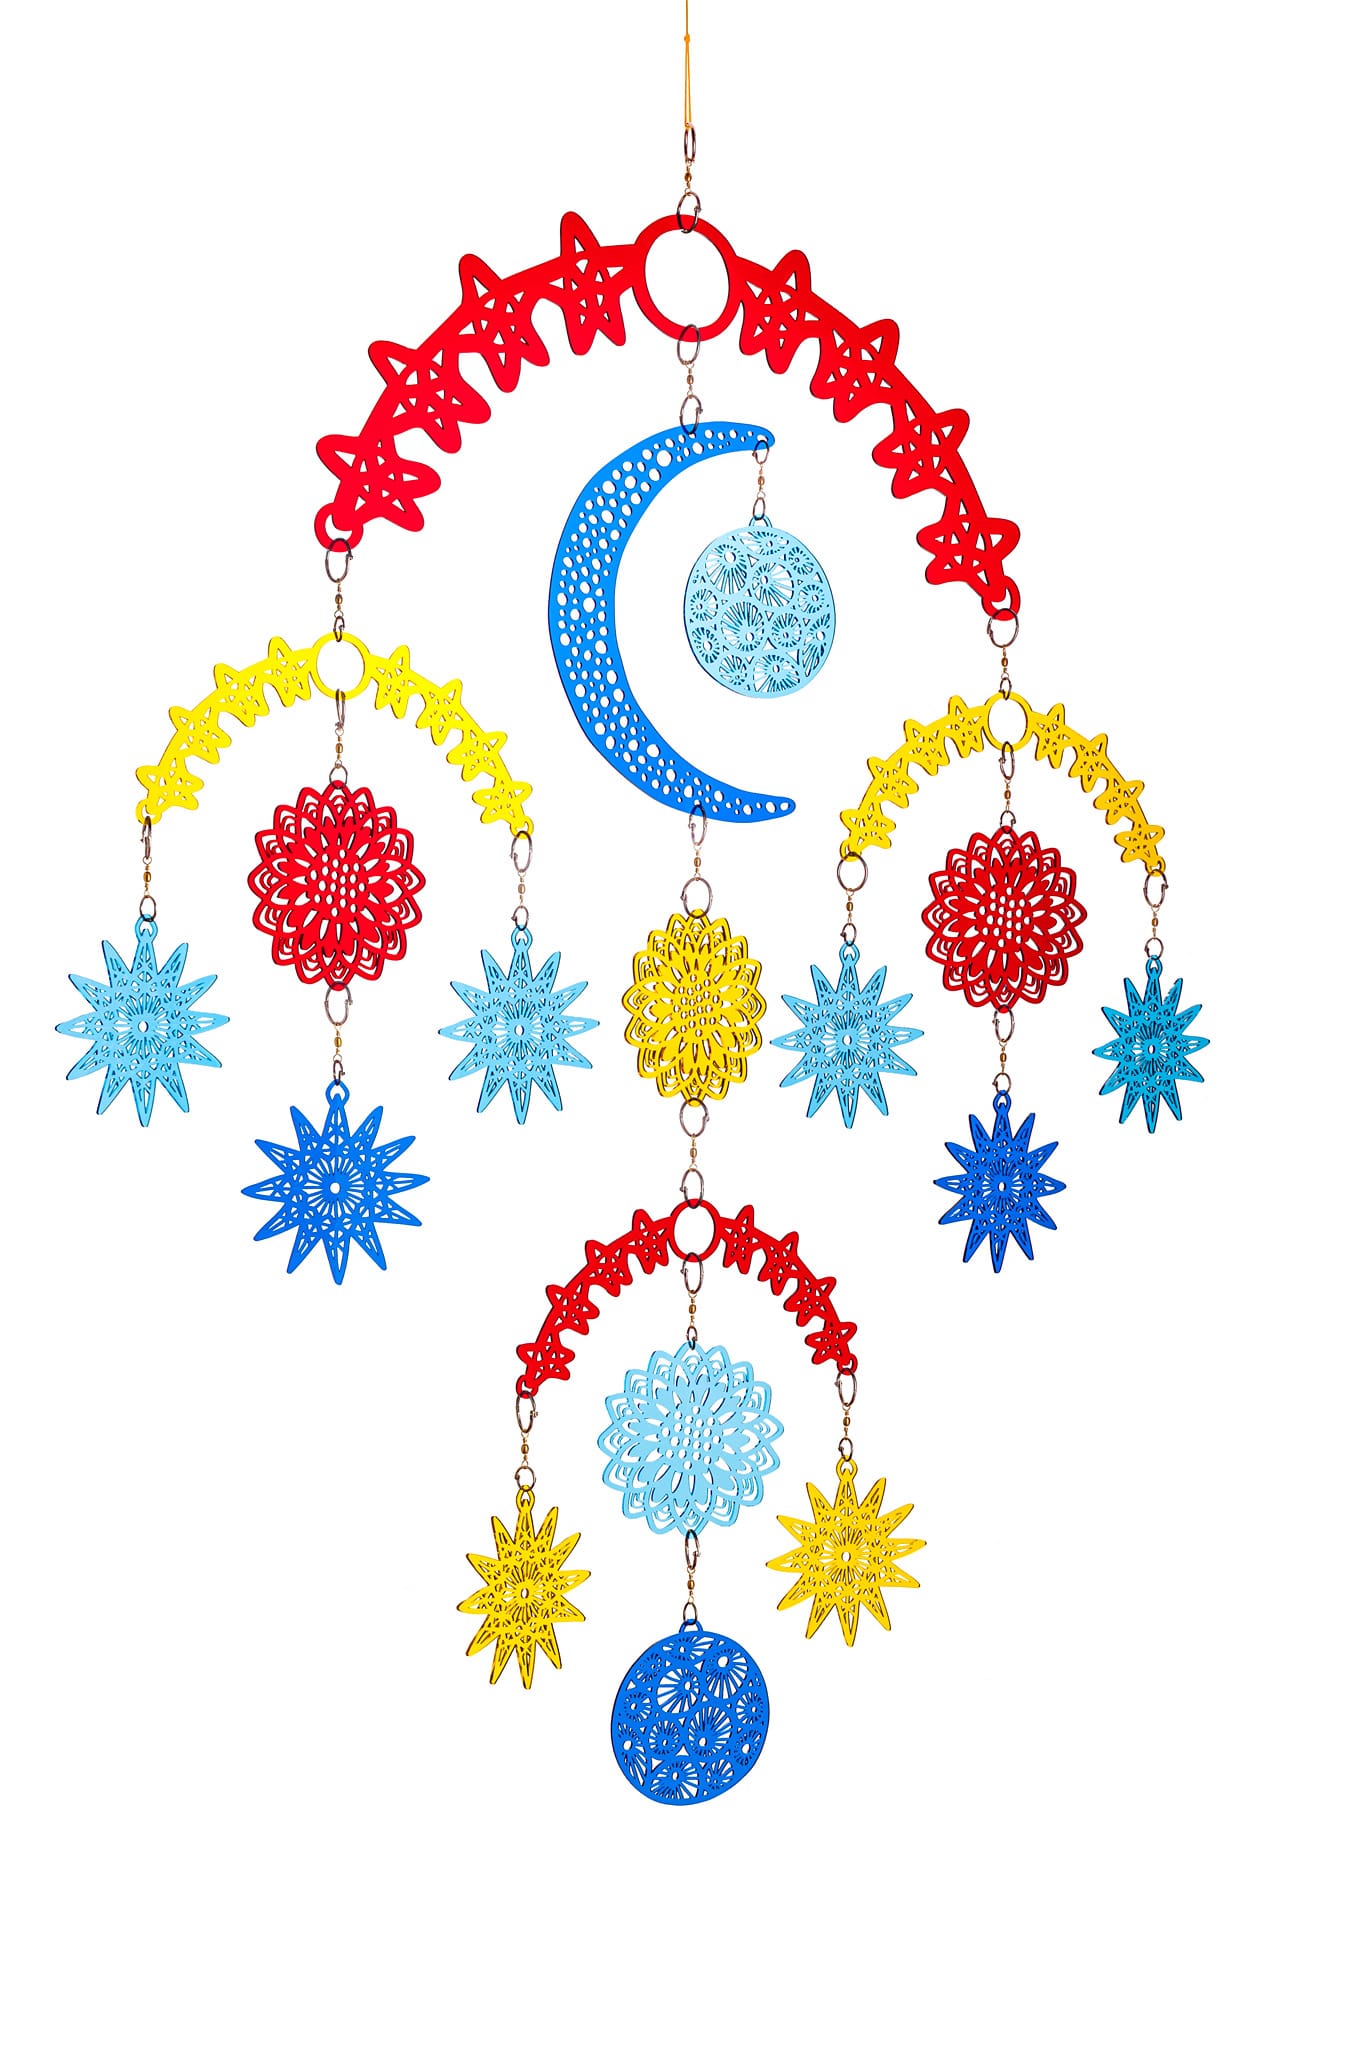
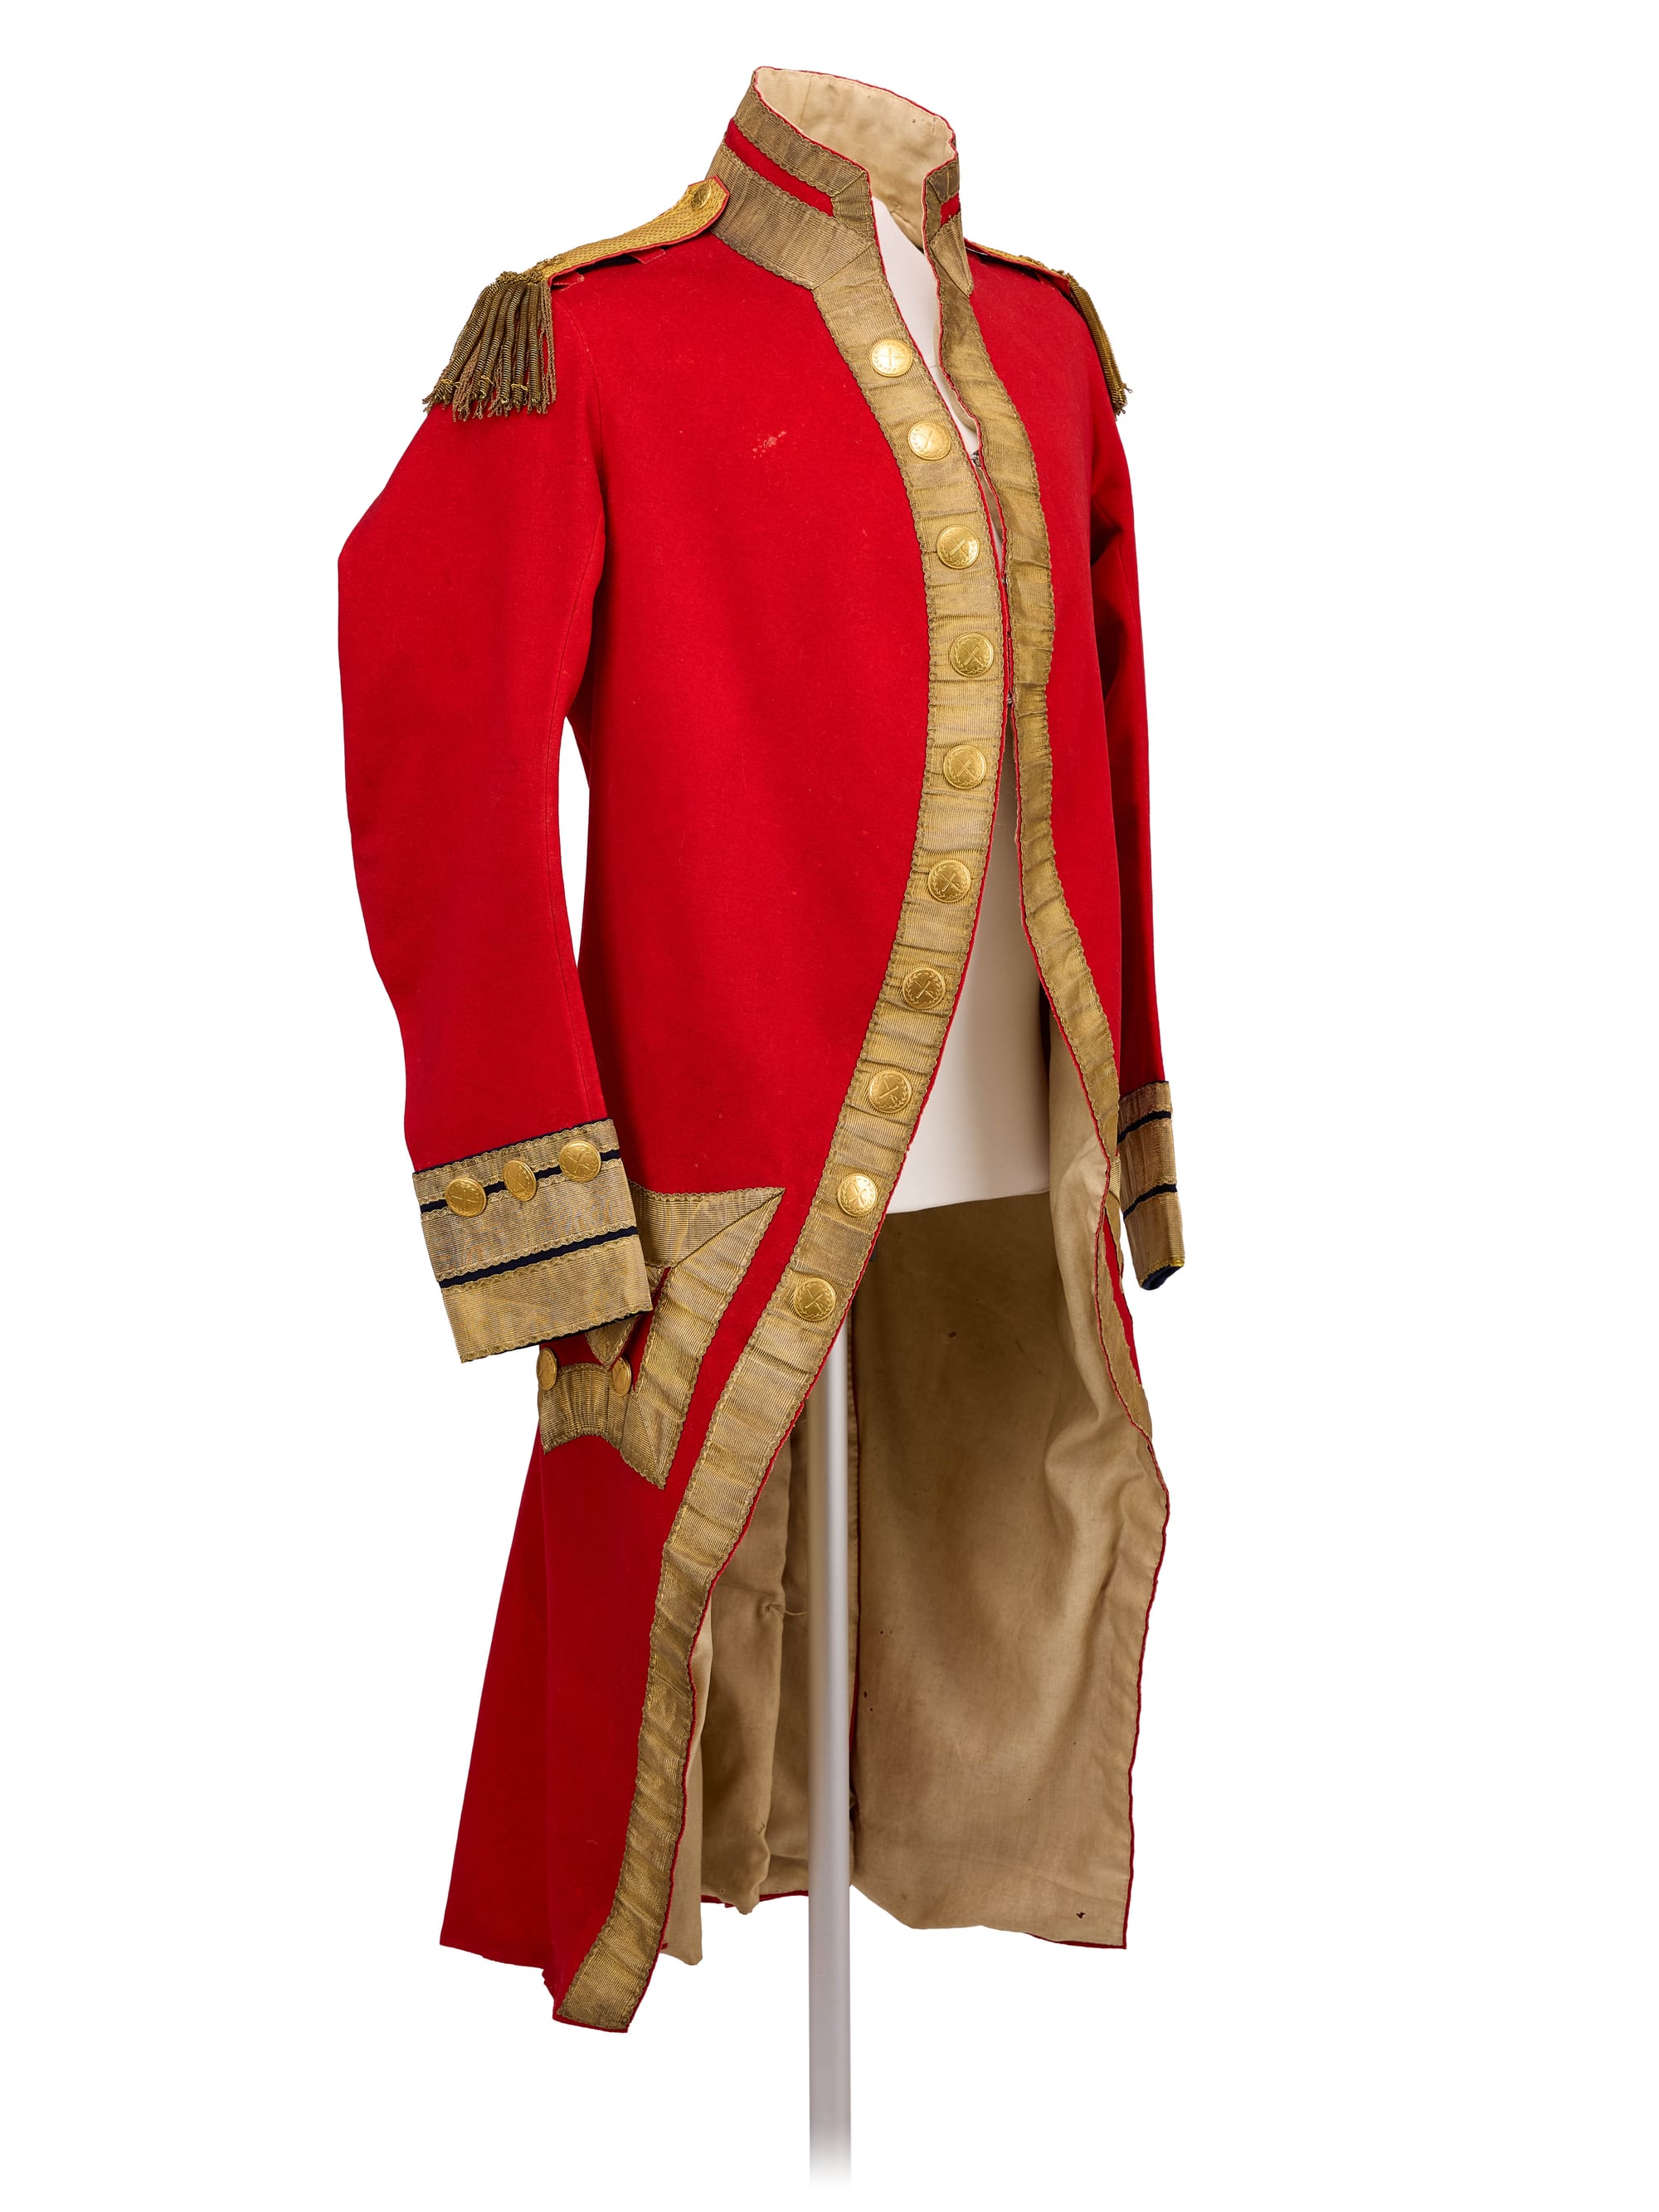
(l-r) Mixed-media mobile by Molly Rose Freeman; British Officer’s Redcoat, Courtesy of the Historical Association of Catawba County; (c) John Kepchar LLC
Fortunately, Asheville’s John Kepchar, co-owner and production lead at Kepchar LLC, recently shared his expert tips and practical insights with ArtsvilleUSA for this guide to photographing 3D artwork.
“I’ve always had a passion for art and photography,” says John, who co-owns Kepchar LLC with his wife, artist and photographer Neeta. Their studio specializes in product and art photography for visual artists and museums, including 360-degree and interactive imaging. Kepchar LLC clients include Biltmore Estate, Asheville multidisciplinary artist and designer Molly Rose Freeman, Texas-based bronze sculptor John Tolmay, and The Redcoat Project of the Historical Association of Catawba County and the History Museum of Catawba County.
Here, John simplifies the process so artists can create professional-quality images at home or in their own studios. All you need, he says, is “one light, a plain background, a camera set deliberately and then left alone. Get a few simple things properly balanced, and you can make consistent, gallery-ready photographs of 3D work. Simple, intentional, careful work with a small toolbox can be infinitely better than something complex, once you get comfortable with the setup.”
Six Simple Steps to Mastering 3D Photography
1. Keep It Clean
- Handle pieces with clean white cotton or rubber-tipped gloves.
- Use an air duster first, then a microfiber cloth to remove dust and fingerprints.
- High-resolution imaging magnifies imperfections; don’t skip this step.
John adds: “Every time I have rushed this step, I have regretted it—either hours of extra retouching in post-shoot or a full reshoot. For me, it is that impactful to the final image.”
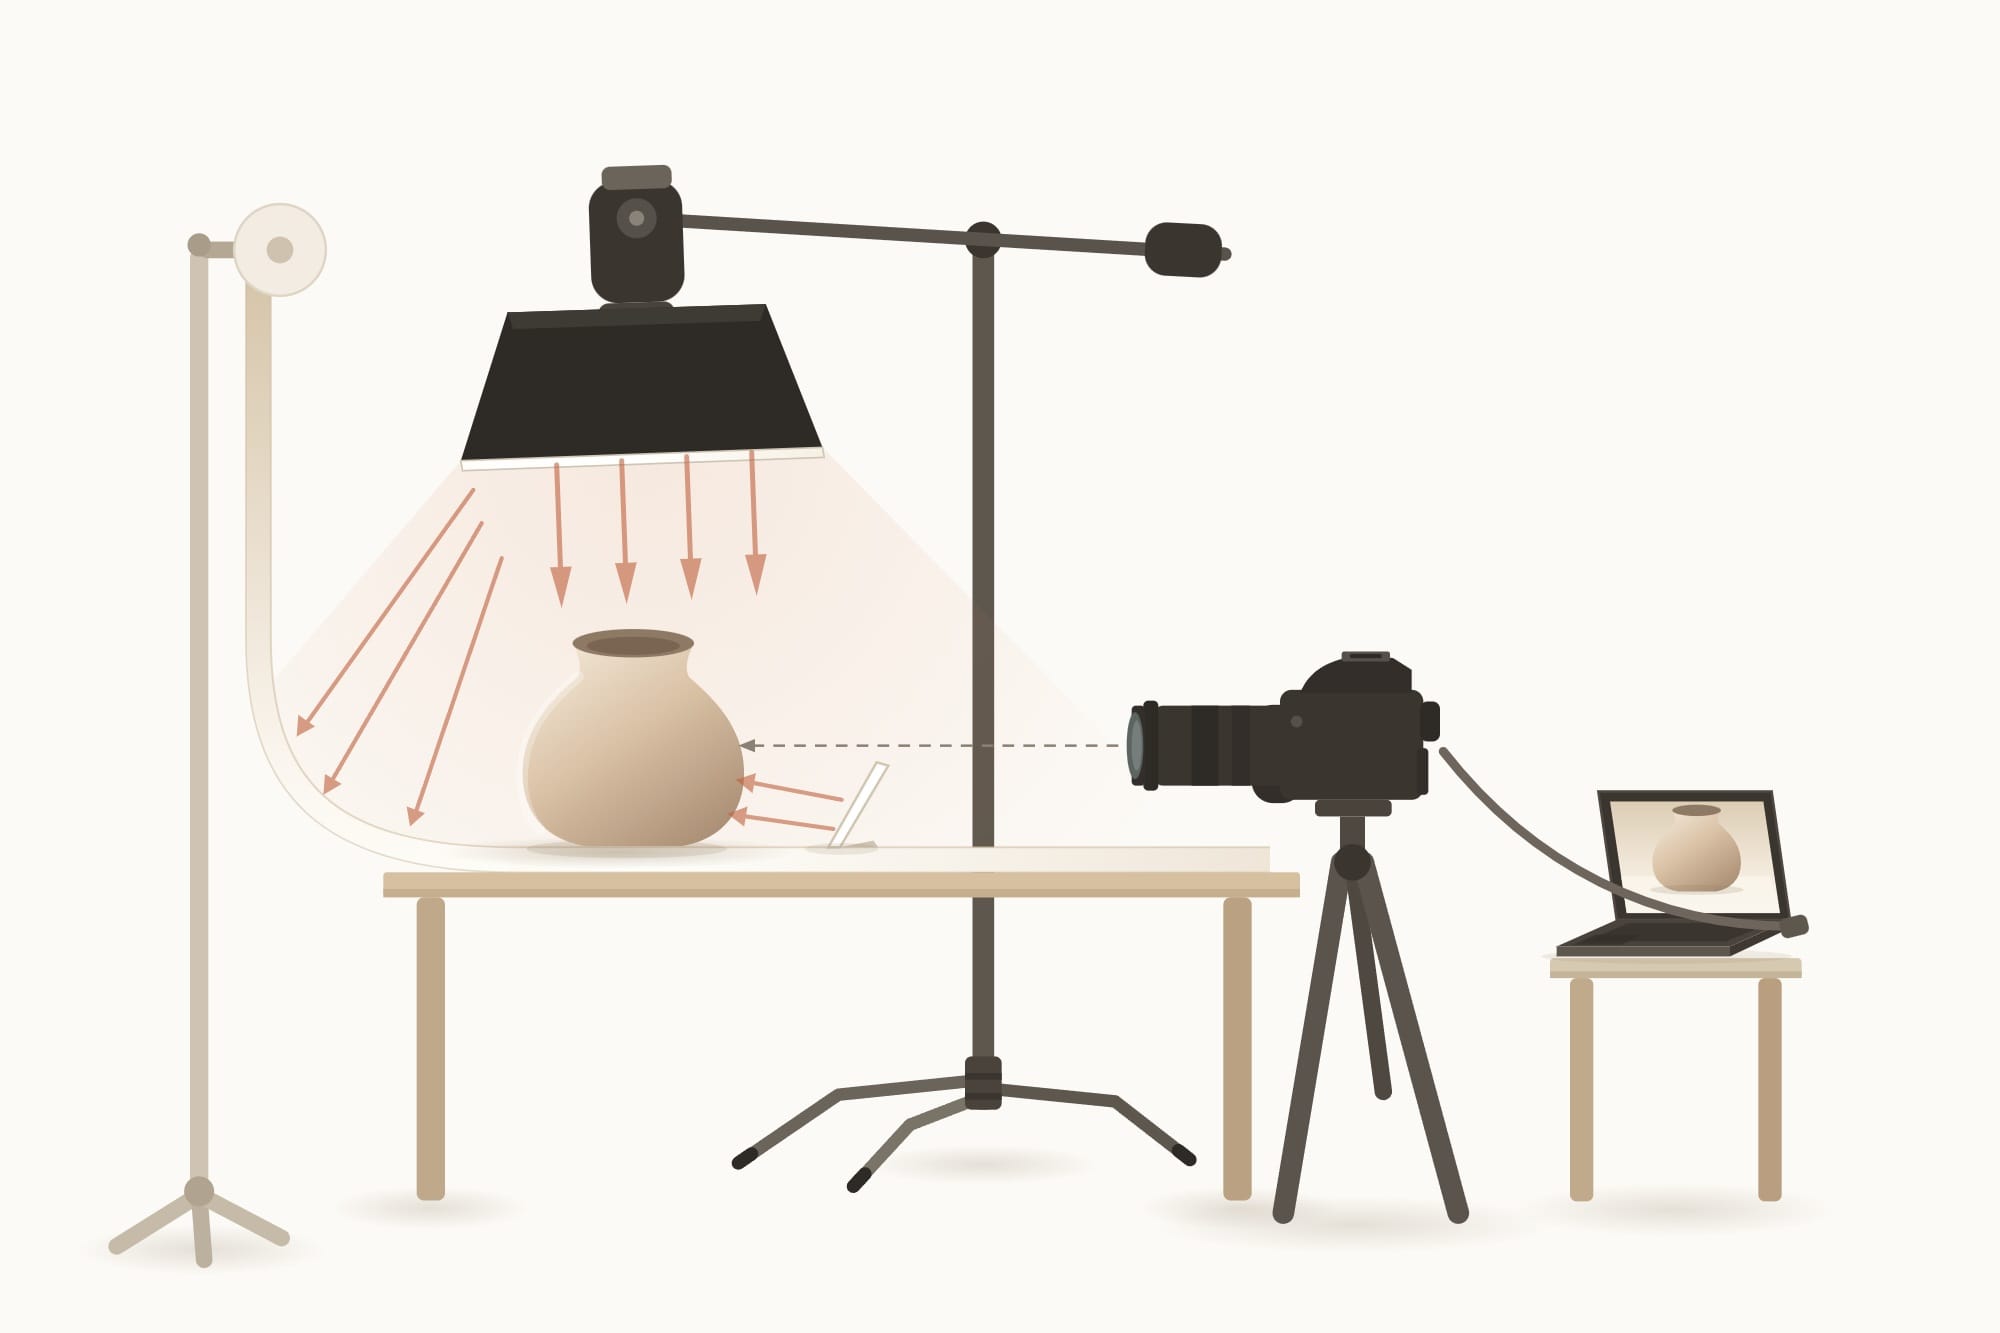
2. Build the Stage With a Paper Sweep and Overhead Soft Light
- Use a seamless white paper sweep to eliminate horizon lines.
- Position a softbox overhead with a boom arm for soft, even light.
- If needed, use white bounce cards to reflect light onto the object.
John explains: “A single light source is all you need, and it’s often the most elegant approach. Separate lights complicate the image, and multiple light-and-shadow systems can cheapen the look. ... Use editing software like Photoshop to paint in those lit elements later.”
Pro tip: Use caution with hot lights and softboxes to prevent heat buildup.
3. Set the Camera Once
- Use a 50mm lens, or ideally, a 100mm fixed lens.
- Set the aperture between f/5.6 and f/16.
- Mount the camera on a tripod and set the ISO to the lowest setting.
- Trigger the camera with a tethered computer, cable release, or self-timer.
- Capture images in RAW format.
Pro tip: Many modern smartphones can take excellent images if you use good light and keep them steady.
4. White Balance
- Work with a single light source and avoid competing sources.
- A strobe makes the process easier.
- When shooting in RAW, adjust white balance in post-production.
5. Move the Art, Not the Camera
- Set up your studio environment first, then bring in the artwork.
- With the camera locked, keep the scene consistent so all attention remains on the object.
- The environment stays the same between frames, allowing for perfectly aligned image sequences.
6. Tether If Possible
- Connect your camera to a computer and review each frame at full screen for a major workflow upgrade.
Understanding Image Files and Sizes
For Websites:
- Images should be full screen and crisp at 2,048 pixels on the long side. Larger images may slow loading times and frustrate viewers.
For Print Publications:
- Printers or publishers will downsize images as needed.
- Submit full-size images at 300 dpi (dots per inch) as TIFF files.
Juried Shows, Galleries, and Retail Platforms:
- Each has its own specific requirements.
- Check the specifications before saving and delivering files.
- Images can always be downsized, but never perfectly upsized. When in doubt, deliver larger files.
- Always keep the RAW files as master copies.
The Essential Kit for a Full Working Setup
- A seamless white paper sweep, a sturdy tabletop, and clamps to hold the paper’s front edge.
- A softbox with a boom arm to center it over the set.
- Ideally, a strobe light or a continuous hot light, with a PC sync cable or wireless trigger for the strobe.
- Camera with a low-distortion prime lens (minimum 50mm, but 100mm macro is ideal) on a sturdy tripod.
- A tether cable and a computer with photo editing software capable of processing RAW files.
- White bounce cards, film-handling gloves, an air duster, microfiber cloths, and a gray card.
This setup allows the photographer to move artwork in and out easily, while gentle shadows convey the distance from the tabletop to the object, making it come alive. John concludes, “I hope these tips deliver some value, and I’m happy to reply to readers who have questions to share our expertise.”
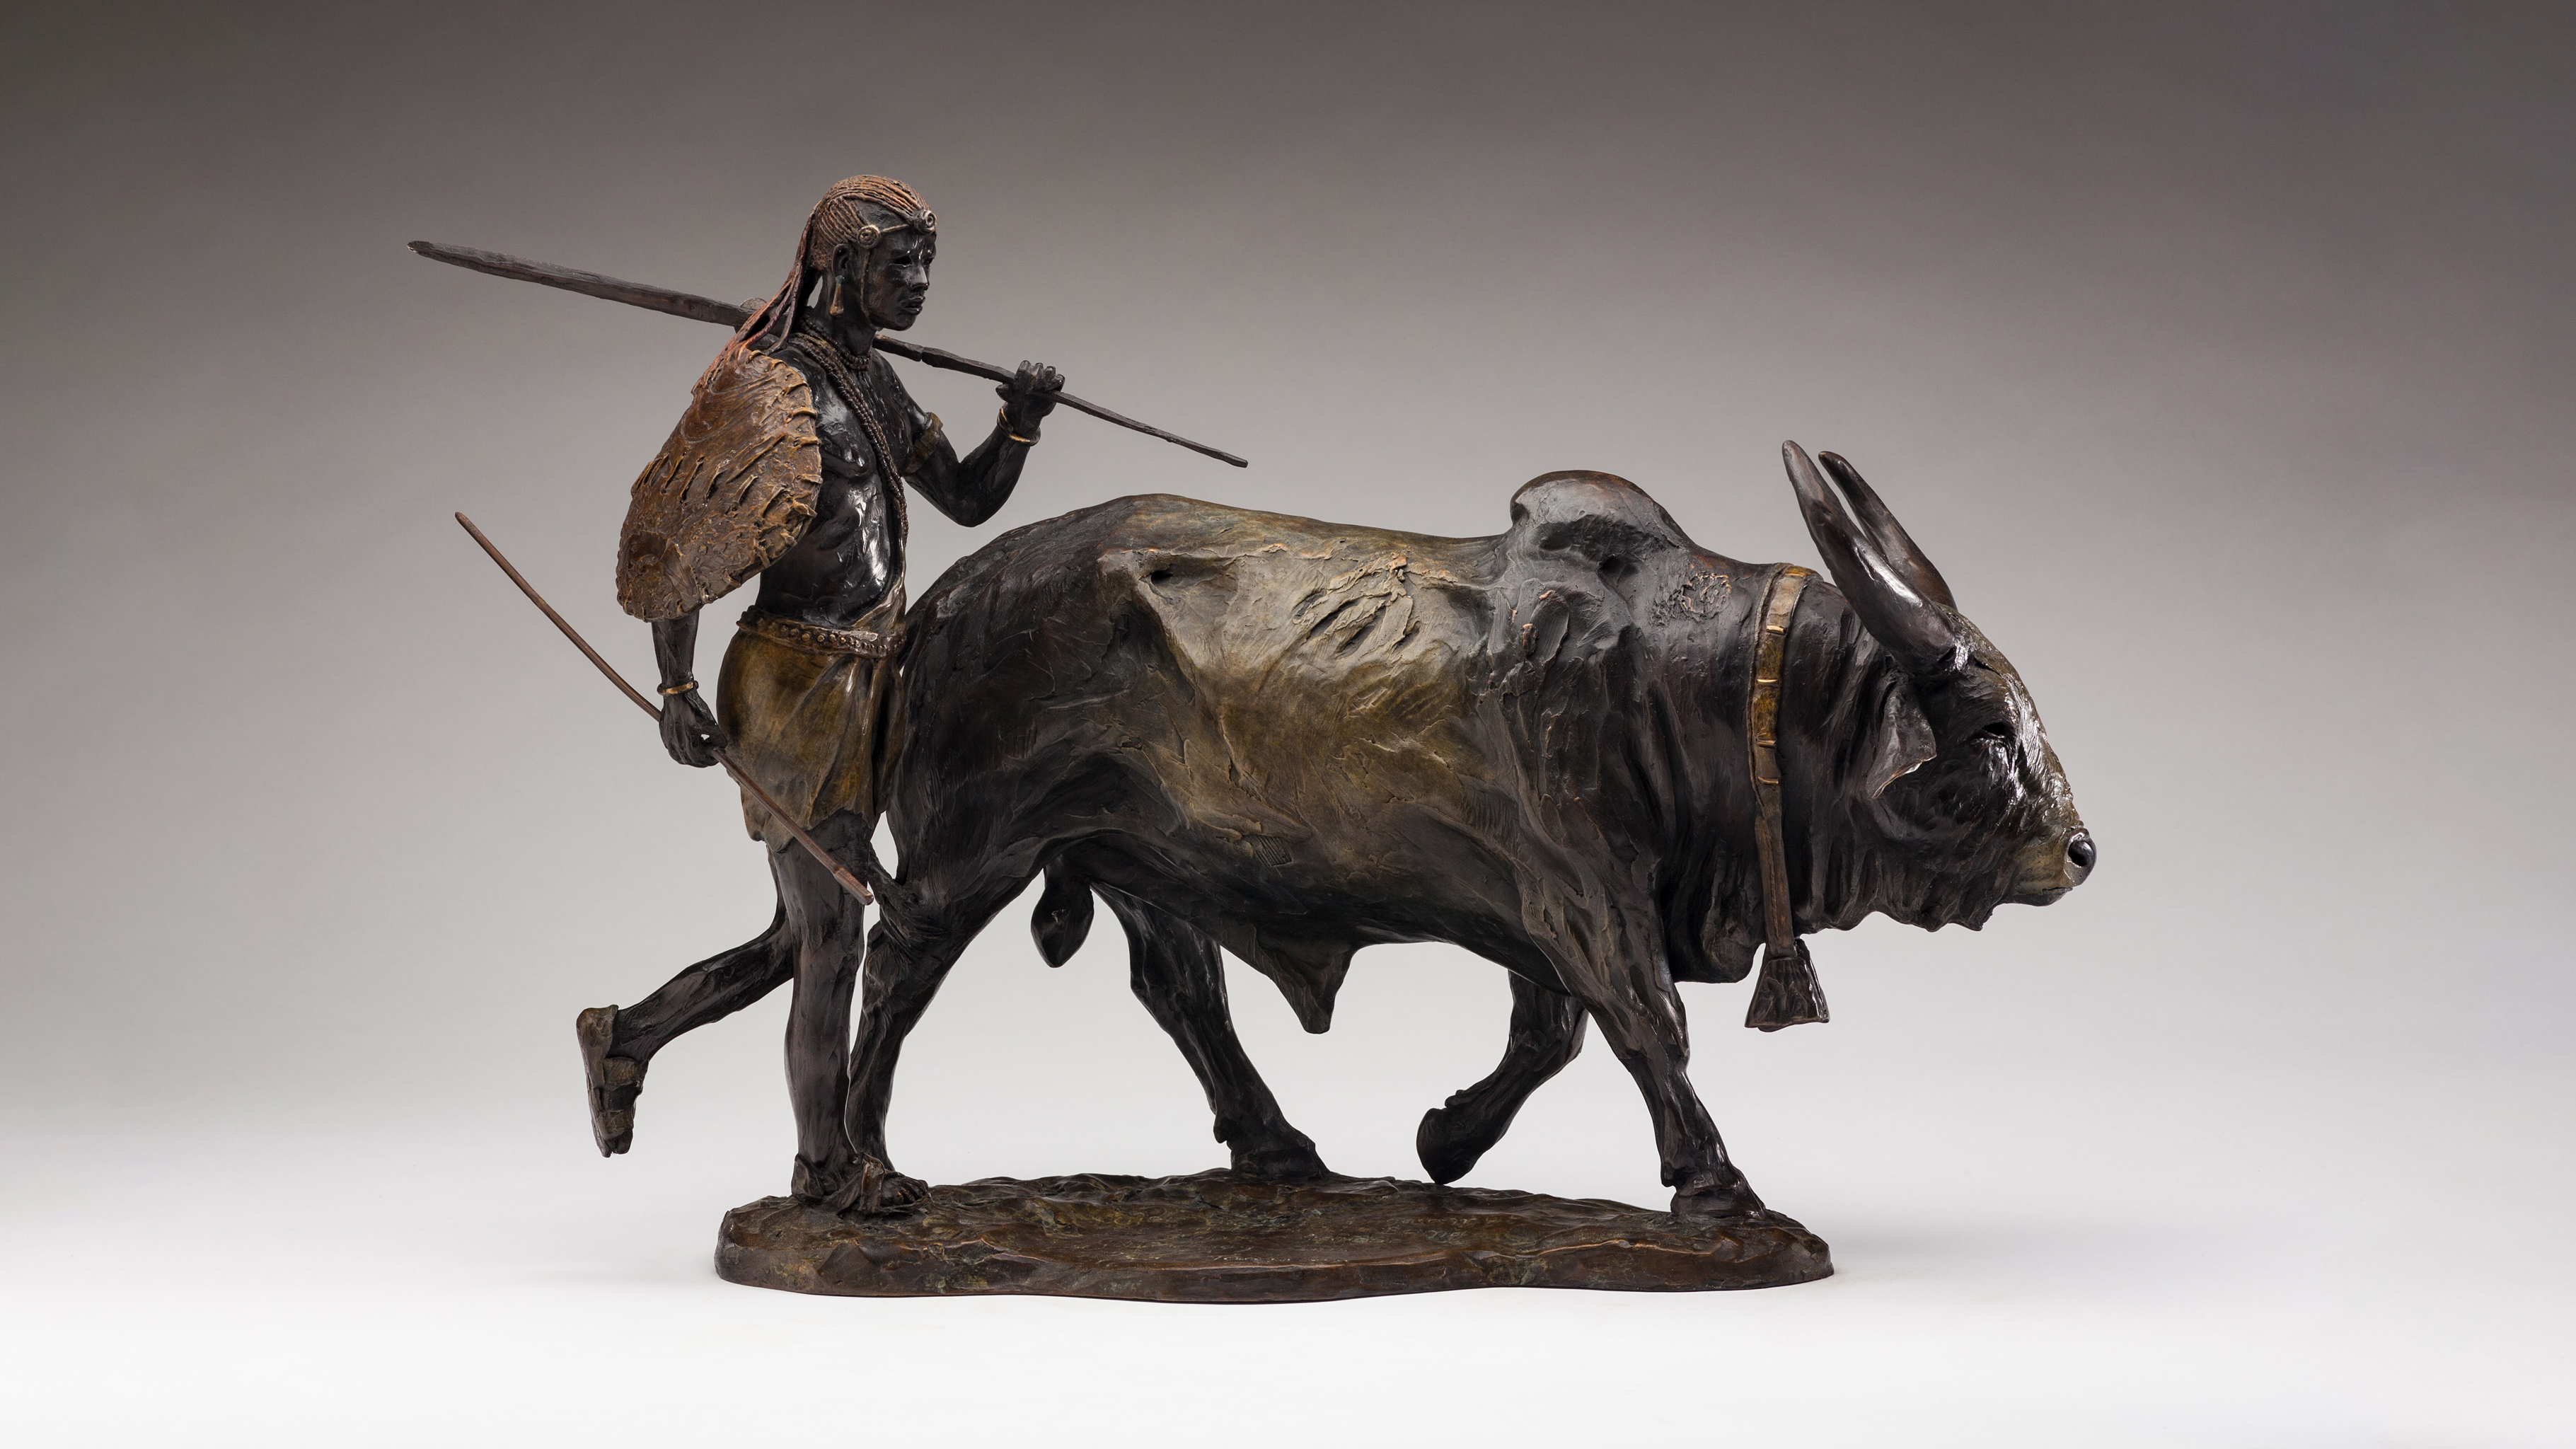
This interview has been edited for length and clarity. All images published with permission of Kepchar LLC; featured photo: “New Blood” by John Tolmay.
Kepchar LLC
Website: kepchar.com
Email: info@kepchar.com
Phone: (828) 500-1055
LinkedIn: linkedin.com/company/kepchar
Asheville Studio: By appointment
Conover Studio: By appointment, located in the Manufacturing Solutions Center, 301 Conover Station SE, Conover, NC 28613